Clothing Photo Retouching: Remove Unwanted Creases, Keep Fabric Texture
“Please smooth out the clothing” leaves an important question unanswered: which lines should disappear, and which belong to the garment? A catalogue image needs more than a tidy surface. It needs to retain the information that helps someone understand the item they are considering. Clear clothing photo retouching boundaries separate distracting creases from fabric texture, construction and intentional folds.
Start with the original photograph, identify the areas that bother you, and record the features that must stay. Review a sample against those instructions before approving the rest of the series.
Daftar Isi
Separate temporary creases from fabric character
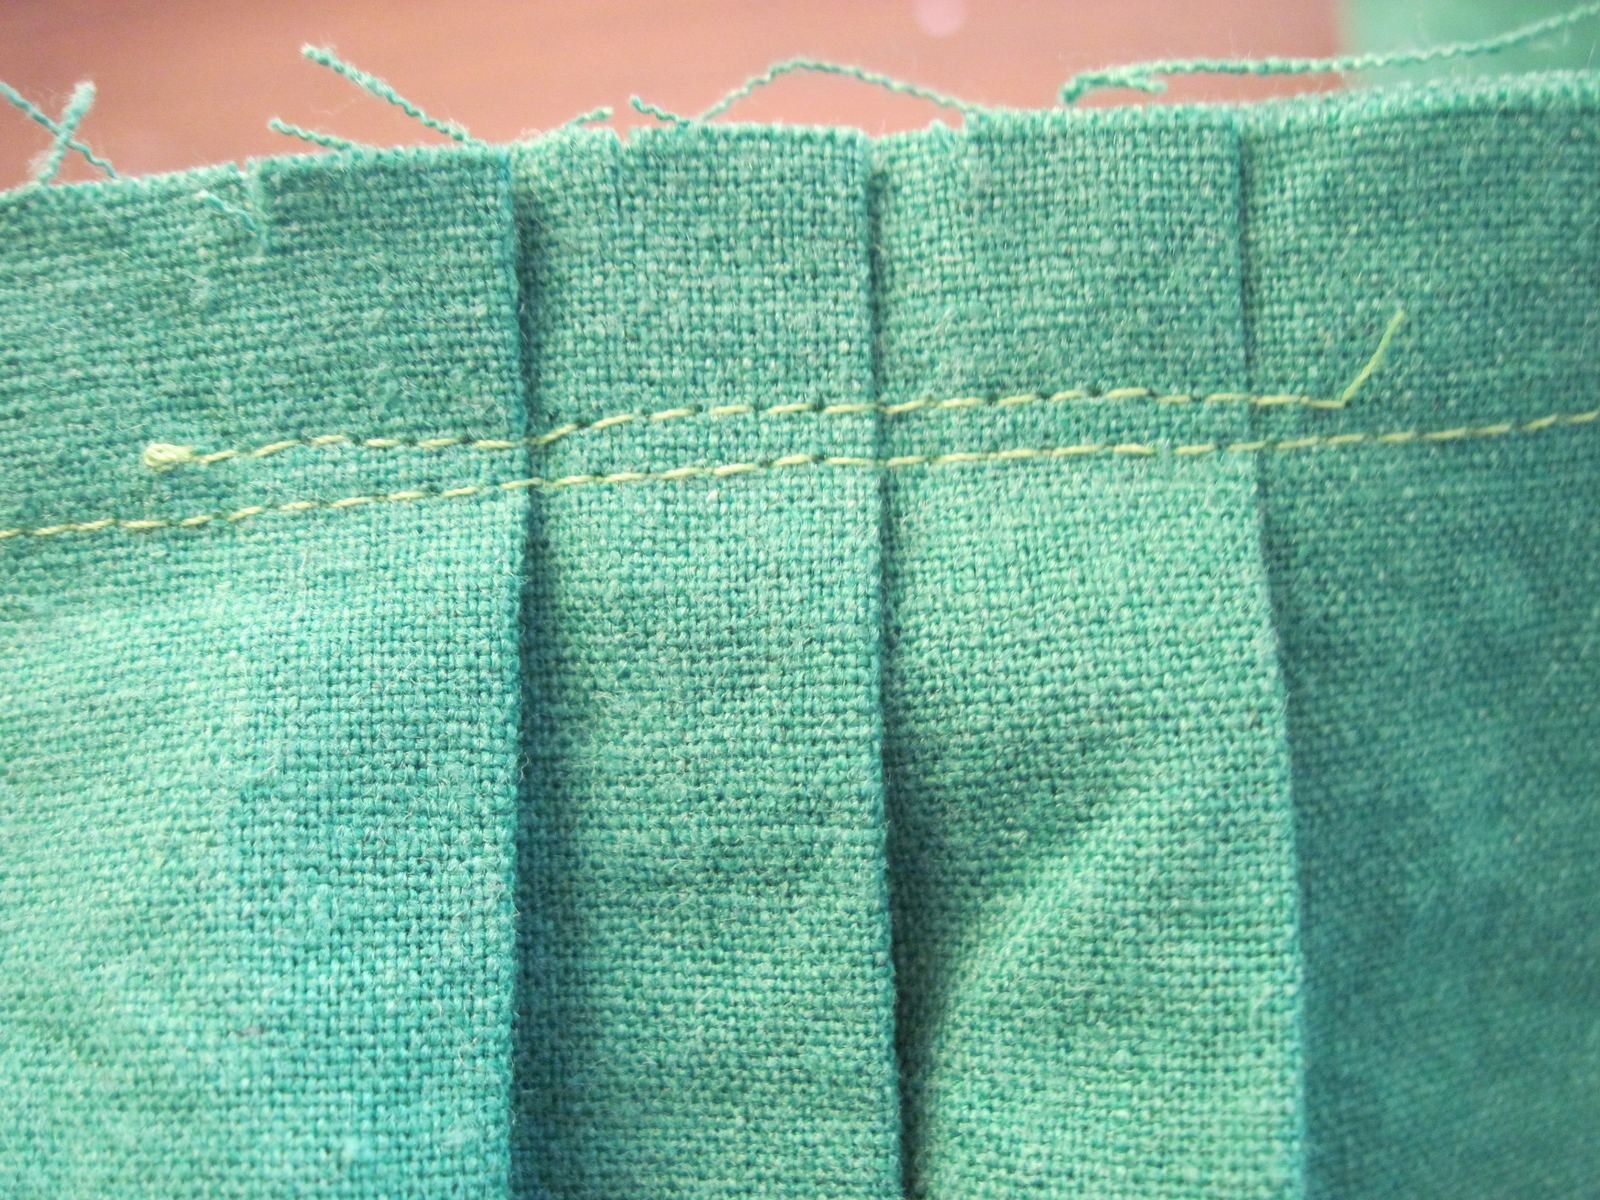
Before marking a line for removal, ask whether it is an unwanted distraction or part of the garment’s appearance. A designed pleat, decorative gathering and an intentionally uneven surface should not receive the same instruction as a temporary fold mark. Nor should every shadow be treated as a flaw.
Adobe’s product photography guide refers to addressing unwanted wrinkles in clothing before a shoot.[3] The useful distinction for a retouching brief is “unwanted”: it does not mean the whole garment should look perfectly smooth. If the photographs already exist, identify the particular crease rather than asking for a universally “clean” finish.
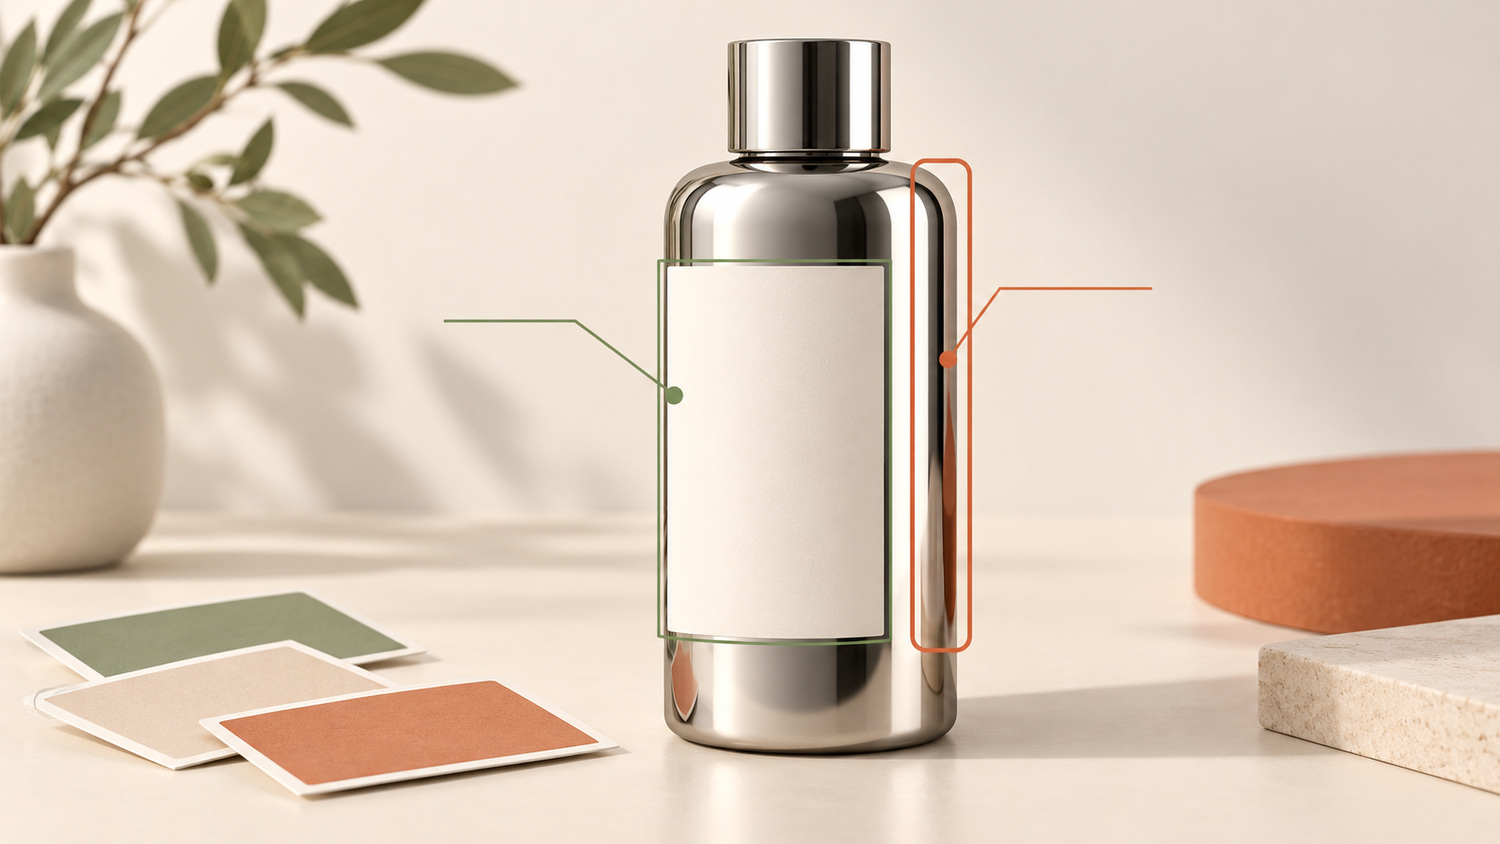
Annotate a copy and keep the original unchanged. Circle a specific area and describe the intended adjustment: “Reduce the horizontal fold mark near the hem; retain the surrounding surface texture.” Mark uncertain areas “confirm first” instead of authorising broad removal. This gives the editor a question to resolve rather than a feature to guess about.
If the material has not been confirmed, describe what you can see: a grainy surface, visible knitted lines or a particular highlight. Do not infer fibre composition or material quality from the image alone. Include another detail photograph if available. Where the source lacks clear detail, ask about that limitation before requesting reconstructed texture.
Keep references for seams, patterns and designed folds
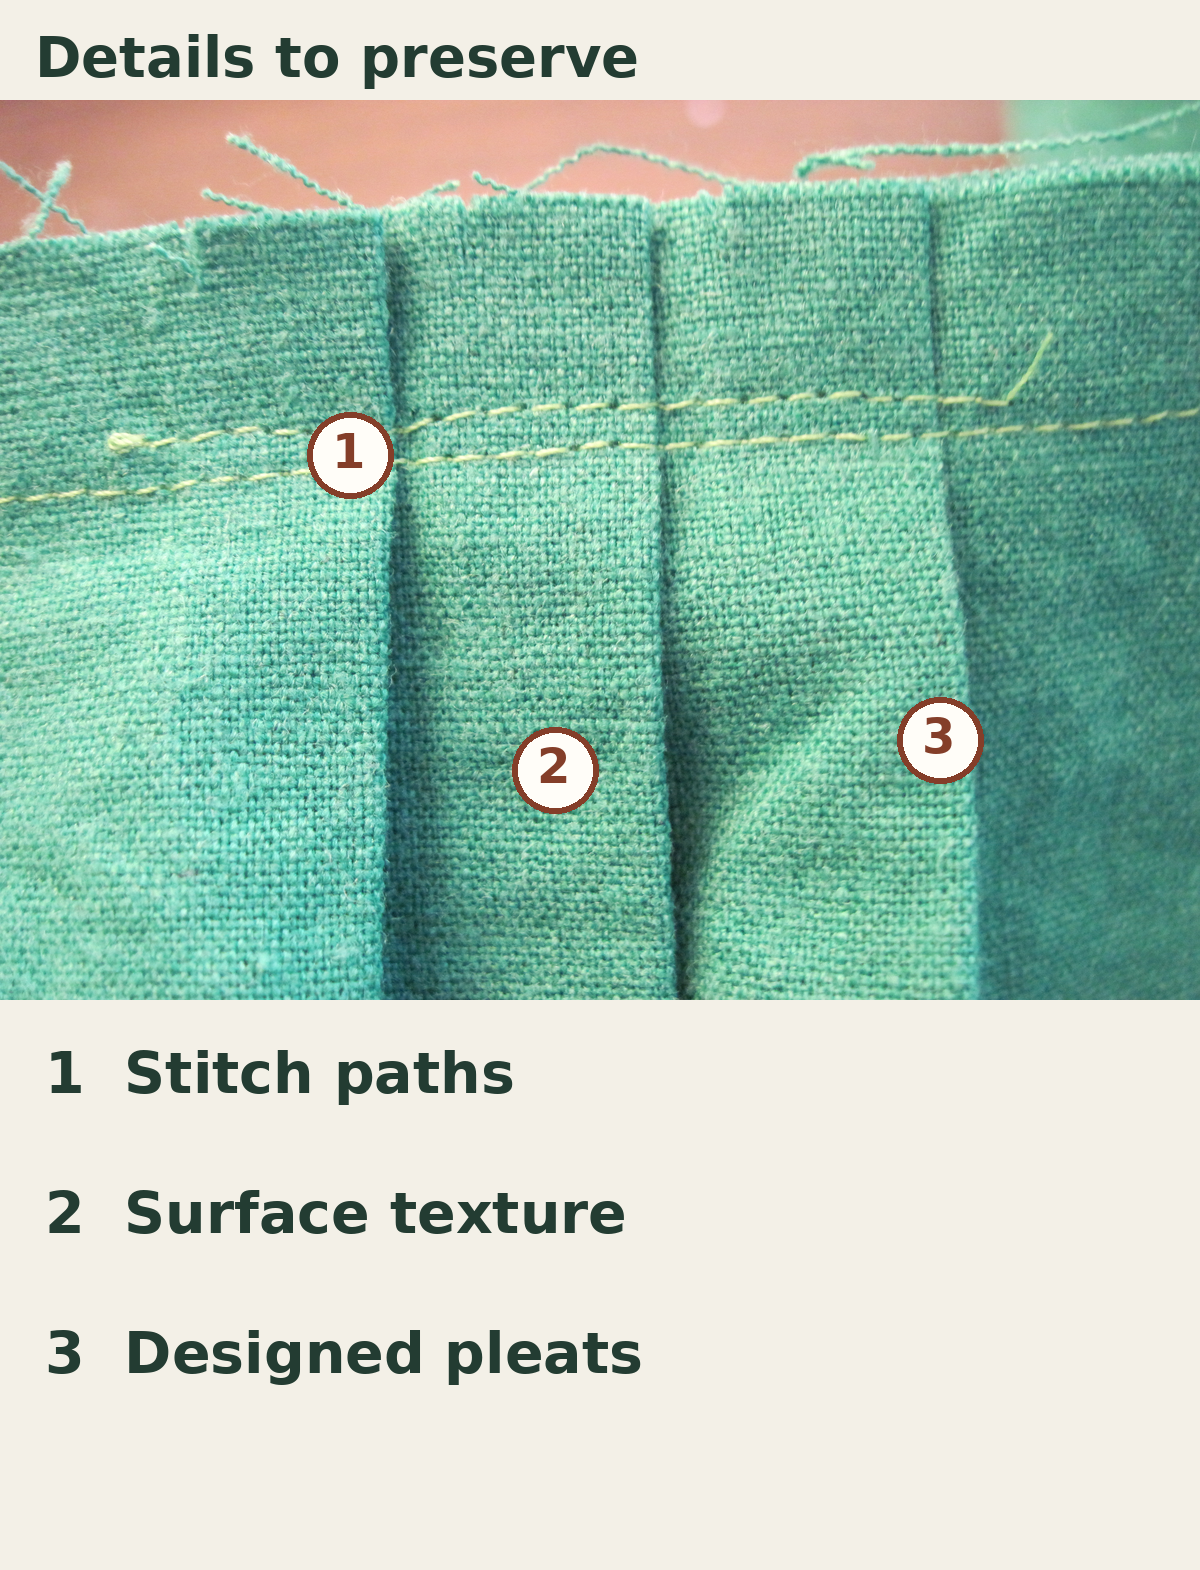
Alongside the areas to tidy, record the features to protect. These might include seam paths, button spacing, pattern alignment, pocket edges, permanent pleats and the garment’s outline. This is not a request to make every line straight. It is a record of the product’s distinguishing features, including any asymmetry that belongs to the design.
Adobe describes product-only images as capturing details such as size, silhouette and colour.[3] Translate that into a practical limit: do not narrow the waist, lengthen a sleeve or change the apparent thickness of an edge simply to make the photograph look neater. A change to product shape needs a separate discussion, not an assumption hidden inside crease removal.
Use photographs of the same item as the main reference. Identify any other angle and explain what it establishes. A photograph of a different product can communicate a visual mood, but should not become permission to copy its texture, alter the cut or invent stitching.
Consider a hypothetical striped shirt with a horizontal fold mark near the hem and an intentional pleat at the back. A useful brief requests a reduction in that fold mark while preserving the stripe alignment, back pleat and body width. This is an example of instructions, not a customer project or a claimed retouching result.
Review the detail and the whole garment together
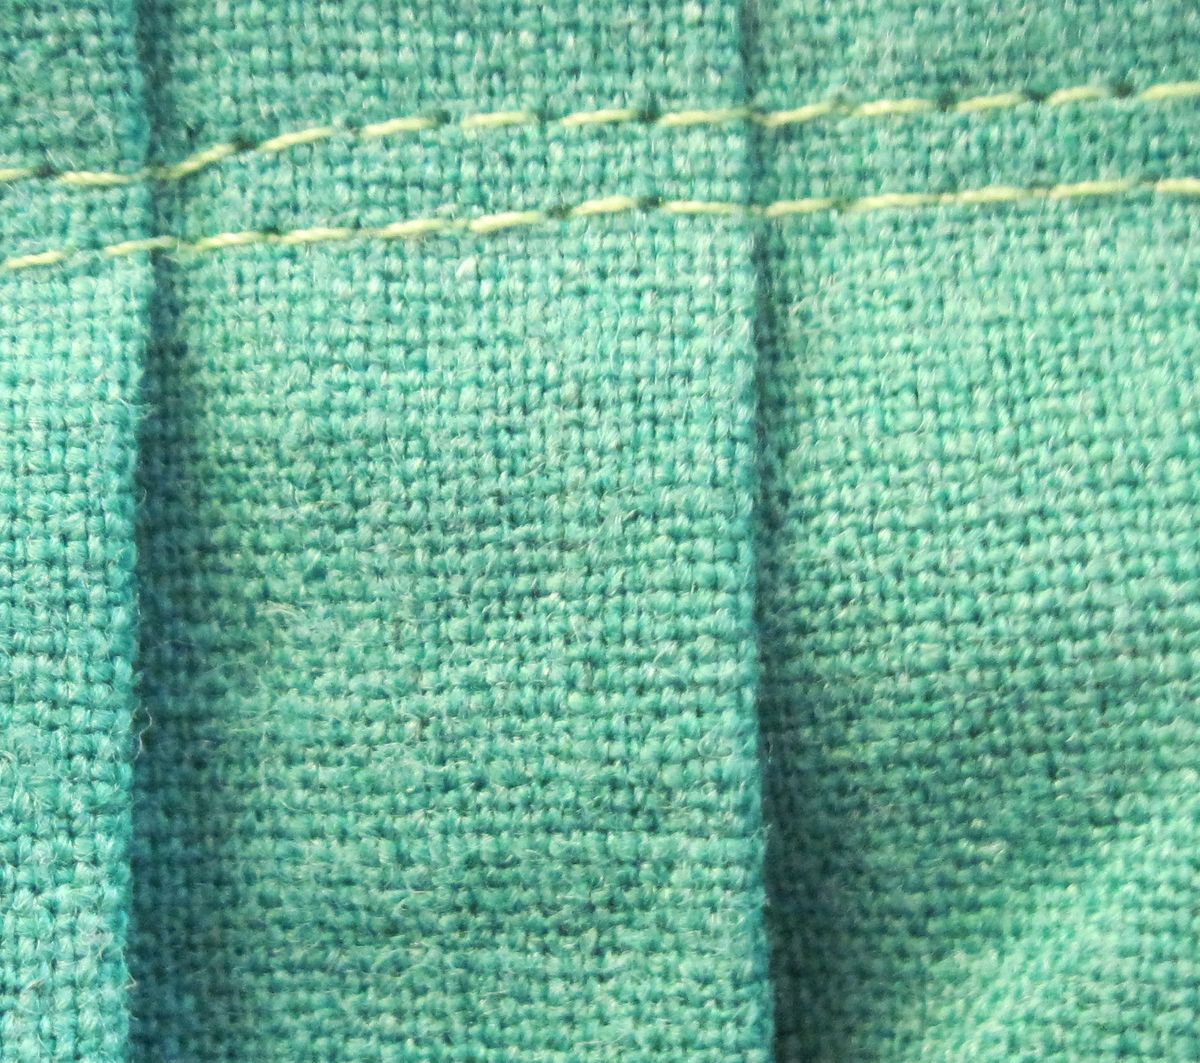
A smooth-looking crop is not enough to approve the photograph. Adobe’s ecommerce photography guide describes detail and macro images as highlighting texture, stitching or material quality.[4] Request a full view and a detail crop from the same version so you can judge the protected features as well as the tidied area.
In the full view, check whether the outline is unchanged, the pockets still sit plausibly and the designed folds remain visible. Compare it with the original at equivalent display sizes. Look at how the adjusted area joins the rest of the fabric: does it create a conspicuously flat patch or an obvious boundary?
In the detail view, follow seams through the retouched area and inspect pattern joins and nearby texture. Flag anything that needs explanation, such as a stripe that suddenly breaks or a repeated texture that looks out of place. Do not require equal sharpness everywhere if parts of the original were out of focus.
Finally, inspect the proposed output at something close to its intended display size, such as a catalogue image on a phone. This complements rather than replaces the detail check. Describe revision requests by location and visible issue: “The seam beside the pocket looks interrupted” is more actionable than “It still feels unnatural.” Avoid comparing screenshots with different crops or magnification.
Approve one sample before continuing the series
Choose a sample that contains the main issue, not simply the easiest photograph. If the series includes very different materials or constructions, discuss whether additional samples are needed. Approving one shirt does not automatically establish the right treatment for every other garment.
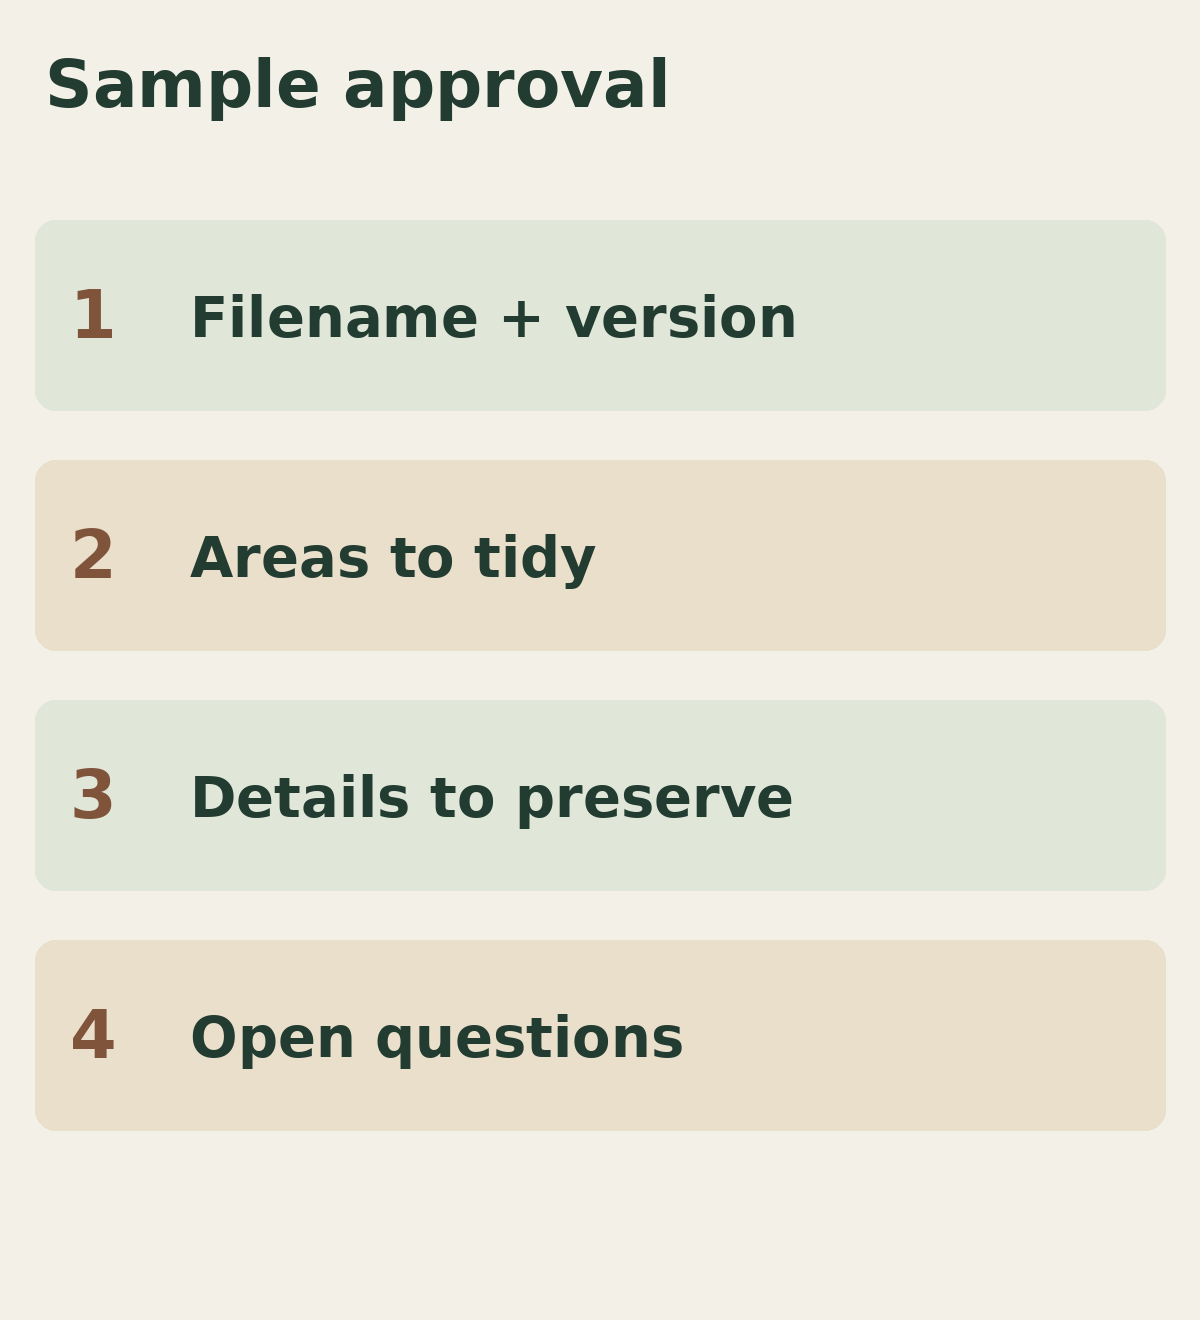
Adobe recommends defining a style guide before shooting.[4] For retouching, a useful adaptation is a short approval record: the agreed sample file, the areas adjusted, the protected details and any unresolved questions. This is a suggestion for managing your brief, not a service package condition.
Make approval explicit and identify the file or version. For example: “Shirt sample B is approved for this level of crease reduction; preserve the pattern and shape. Confirm uncertain folds in other images before changing them.” Separate issues that must be resolved before work continues from optional preferences, and agree who makes the final decision.
Shaniba Creative Industry lists clothing retouching among its editing services and describes an online process for sending, reviewing and receiving photographs.[1] See the photo editing service page, then bring a sample file and your proposed boundaries to the SCI contact portal.[2] Ask about feasibility and scope for your particular image rather than assuming every requested change is possible.
Sources
Share this post to: