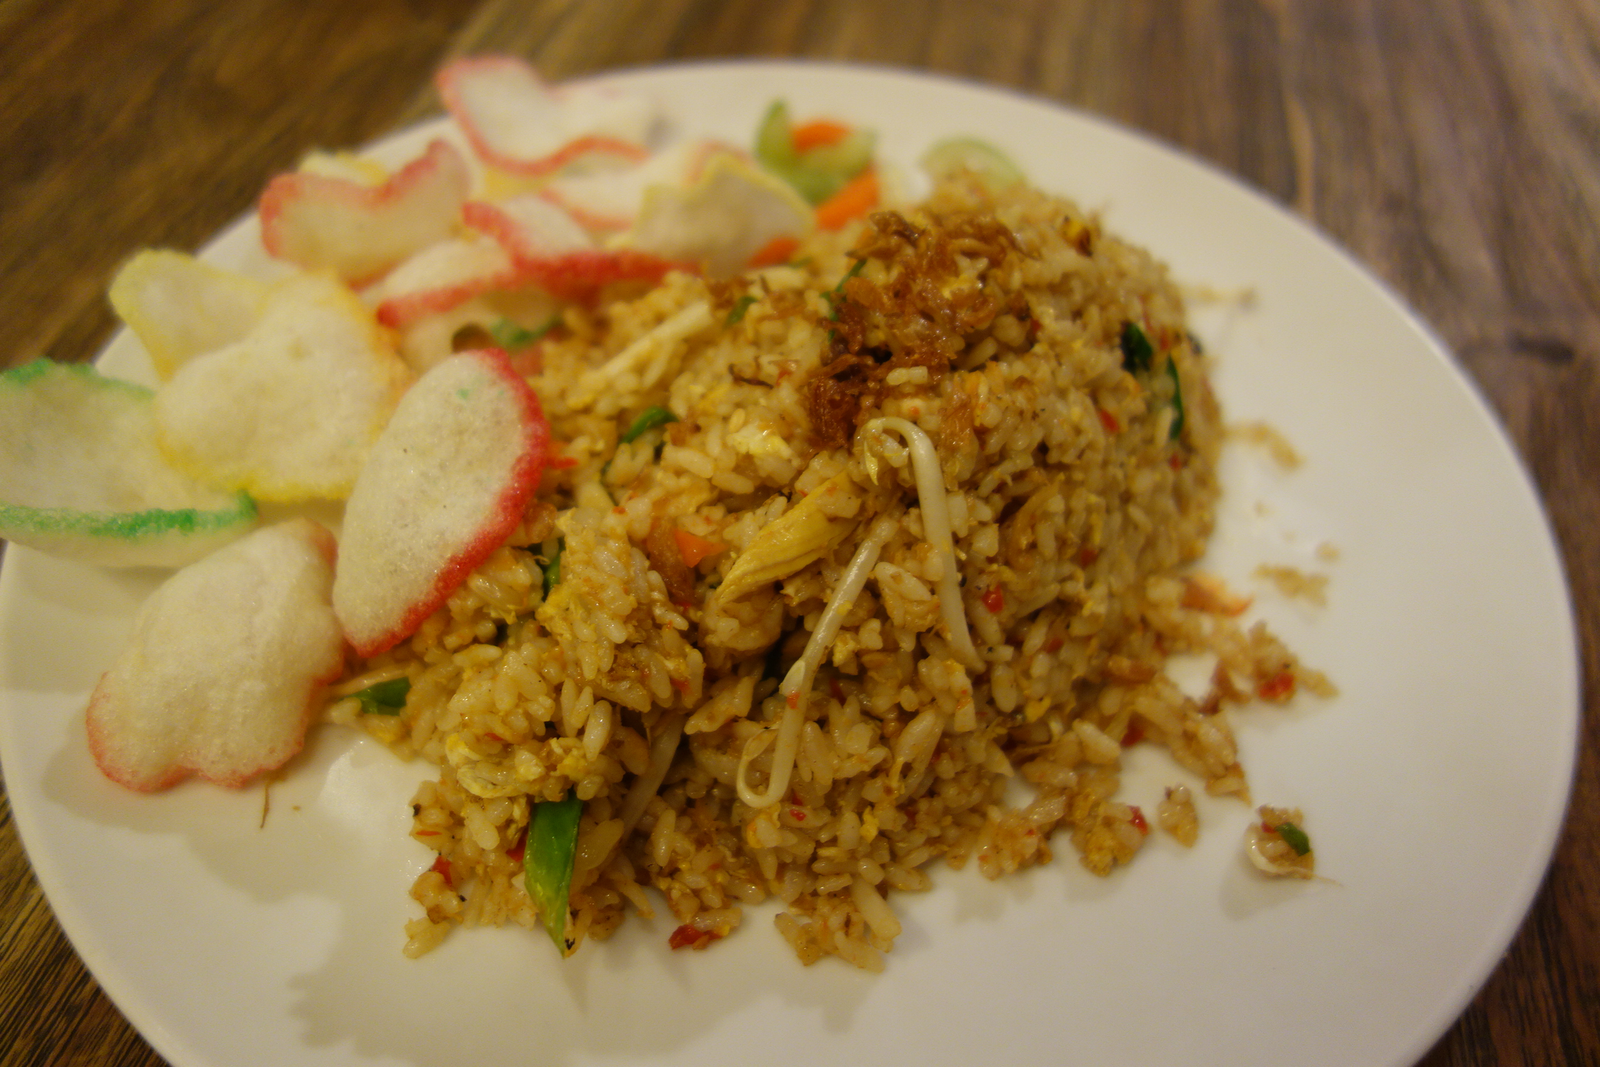
Menu Photo Briefs: Show the Portion and Sides Actually Offered
A plate of rice with crackers beside it looks straightforward. Before that photograph goes on a menu, though, one question needs an answer: are the crackers included, an optional extra, or simply part of the styling? A menu food photography brief helps the business owner, photographer and person uploading the image work from the same answer.
The aim is not to make a serving look larger than the one you sell. It is to give each photograph a clear connection to a menu choice. These notes are useful when discussing product photography in Yogyakarta or preparing menu materials with your own team.
Daftar Isi
Match each image to one menu item
Start with the item name customers will see, rather than a filename such as “final food photo”. Add a simple code to distinguish variations, sizes or meal combinations. If two similarly named items contain different things, give them separate entries in the photography list. An attractive photograph can still be wrong for the variation beside it.
In a hypothetical example, “Vegetable Rice A” comes with the serving and sides defined by its owner. “Vegetable Rice A + Drink” is a different choice. Do not rely on someone remembering that every image with a glass means a meal combination. Record the approved item-to-image pairing and use consistent names in the menu list and file handover.
If an item is not settled, mark it “confirmation needed” instead of guessing its contents. The menu owner decides what is sold; the photographer needs that information to plan the image. Keeping these decisions separate makes unresolved questions visible before the session.
Menu food photography brief: record the portion, vessel and sides
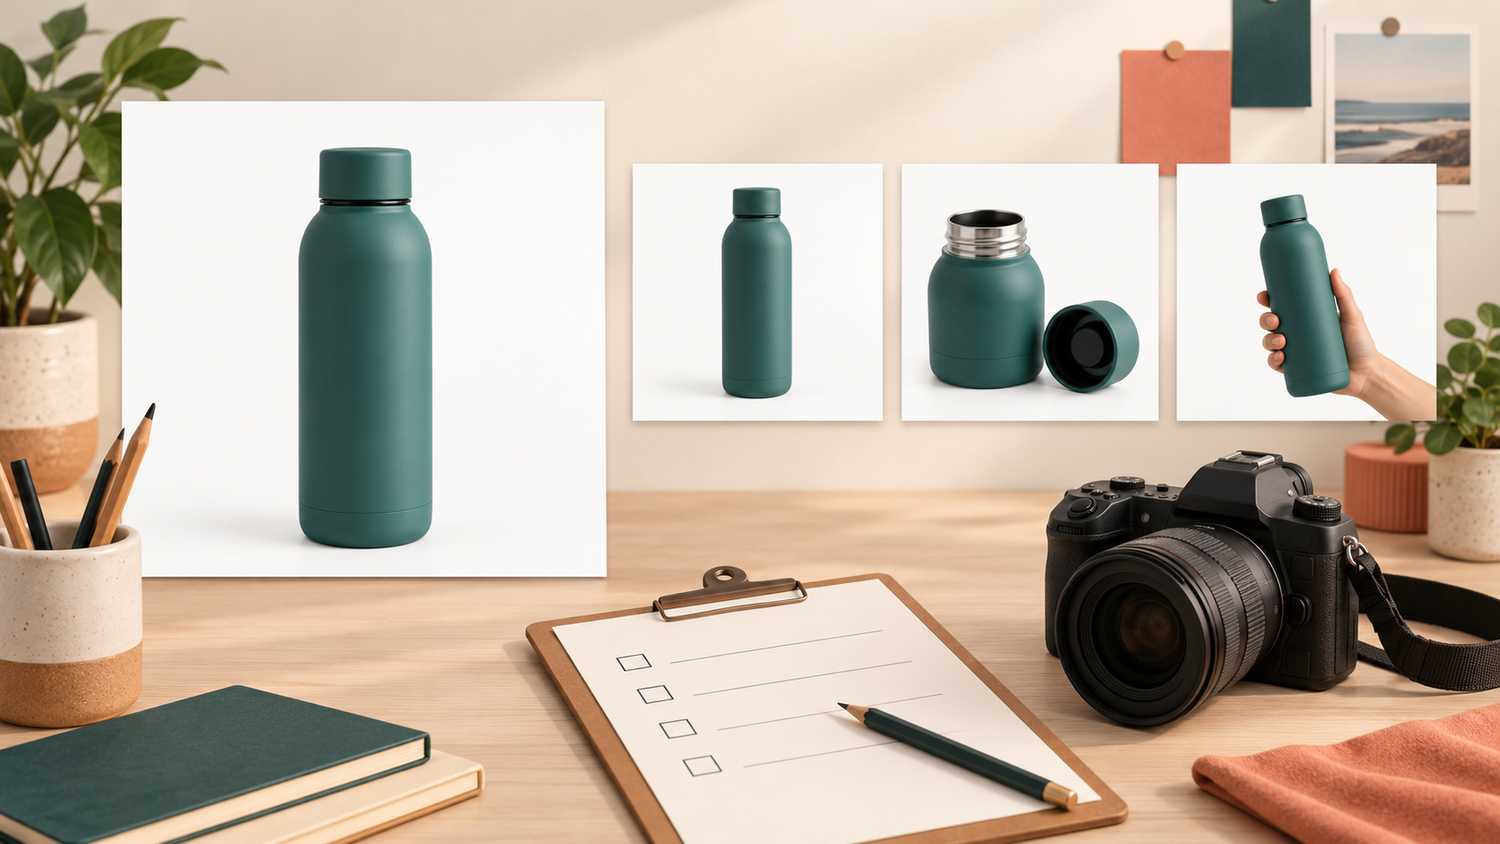
Prepare one short record per item: its name and code, the serving reference used by your business, the serving vessel, included sides and separately selected extras. If you use a particular count or measurement, copy the reference actually used in your operation. There is no need to invent a weight to make the brief appear technical.
Distinguish the food on the plate from objects around it. A separate sauce dish, drink or accompaniment can suggest that everything shown comes with the order. When something is only a prop, decide whether to remove it from the item photograph or clarify its role in the accompanying material. Ingredient names and menu contents should come from the owner, not guesses based on a photograph.
The vessel matters too. A dine-in plate and a takeaway container can communicate different contexts. Decide which the photograph represents, particularly when images are needed for both. These are notes about visual communication, not instructions for preparing or storing food.
Choose a view that keeps the serving visible
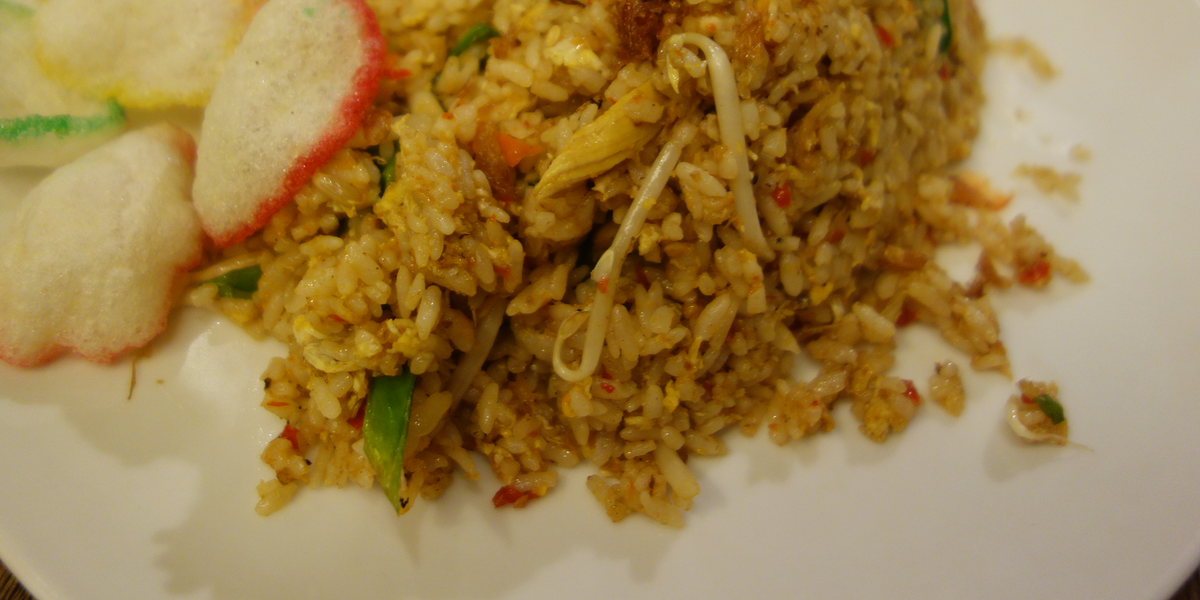
Ask for a view that shows the relationship between the food and its vessel. A close detail can help explain texture, but it should not be the only reference for what a customer receives. Keep the important parts of the dish and its accompaniments recognizable in the main material.
The Uber Eats menu photography guide asks that a photograph remain a true representation of the dish and advises against extreme close-ups that obscure ingredients and portion size.[3] This is an example from an overseas merchant page, not a statement of GoFood or GrabFood requirements. Check the current requirements for your own publishing channel separately.
Choose the angle for what it needs to explain, rather than assuming every dish must be photographed from above. An overhead view can help show an arrangement on a plate; an angled view can reveal height. Discuss the choice with the photographer and compare it with your selling-portion reference. No angle establishes the weight of a serving from a photograph alone.
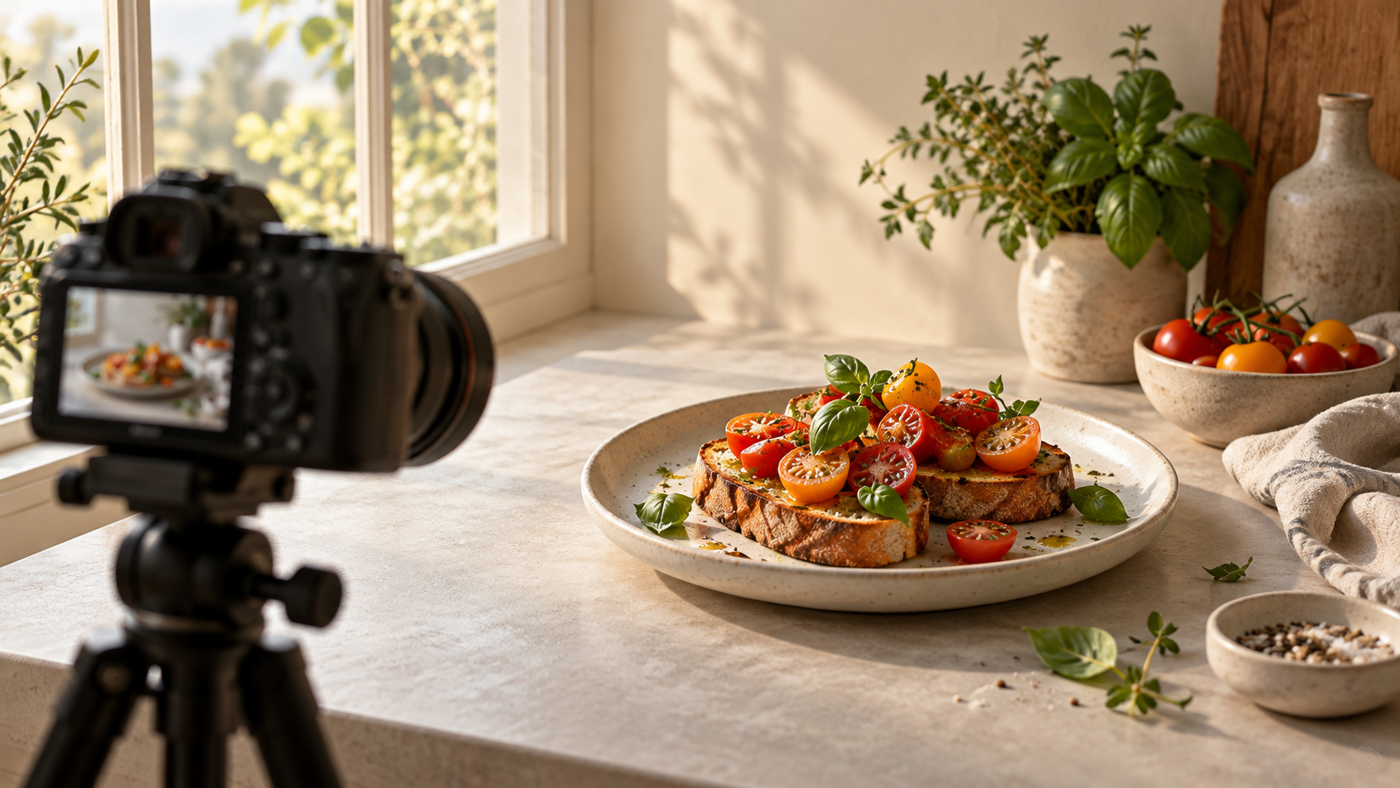
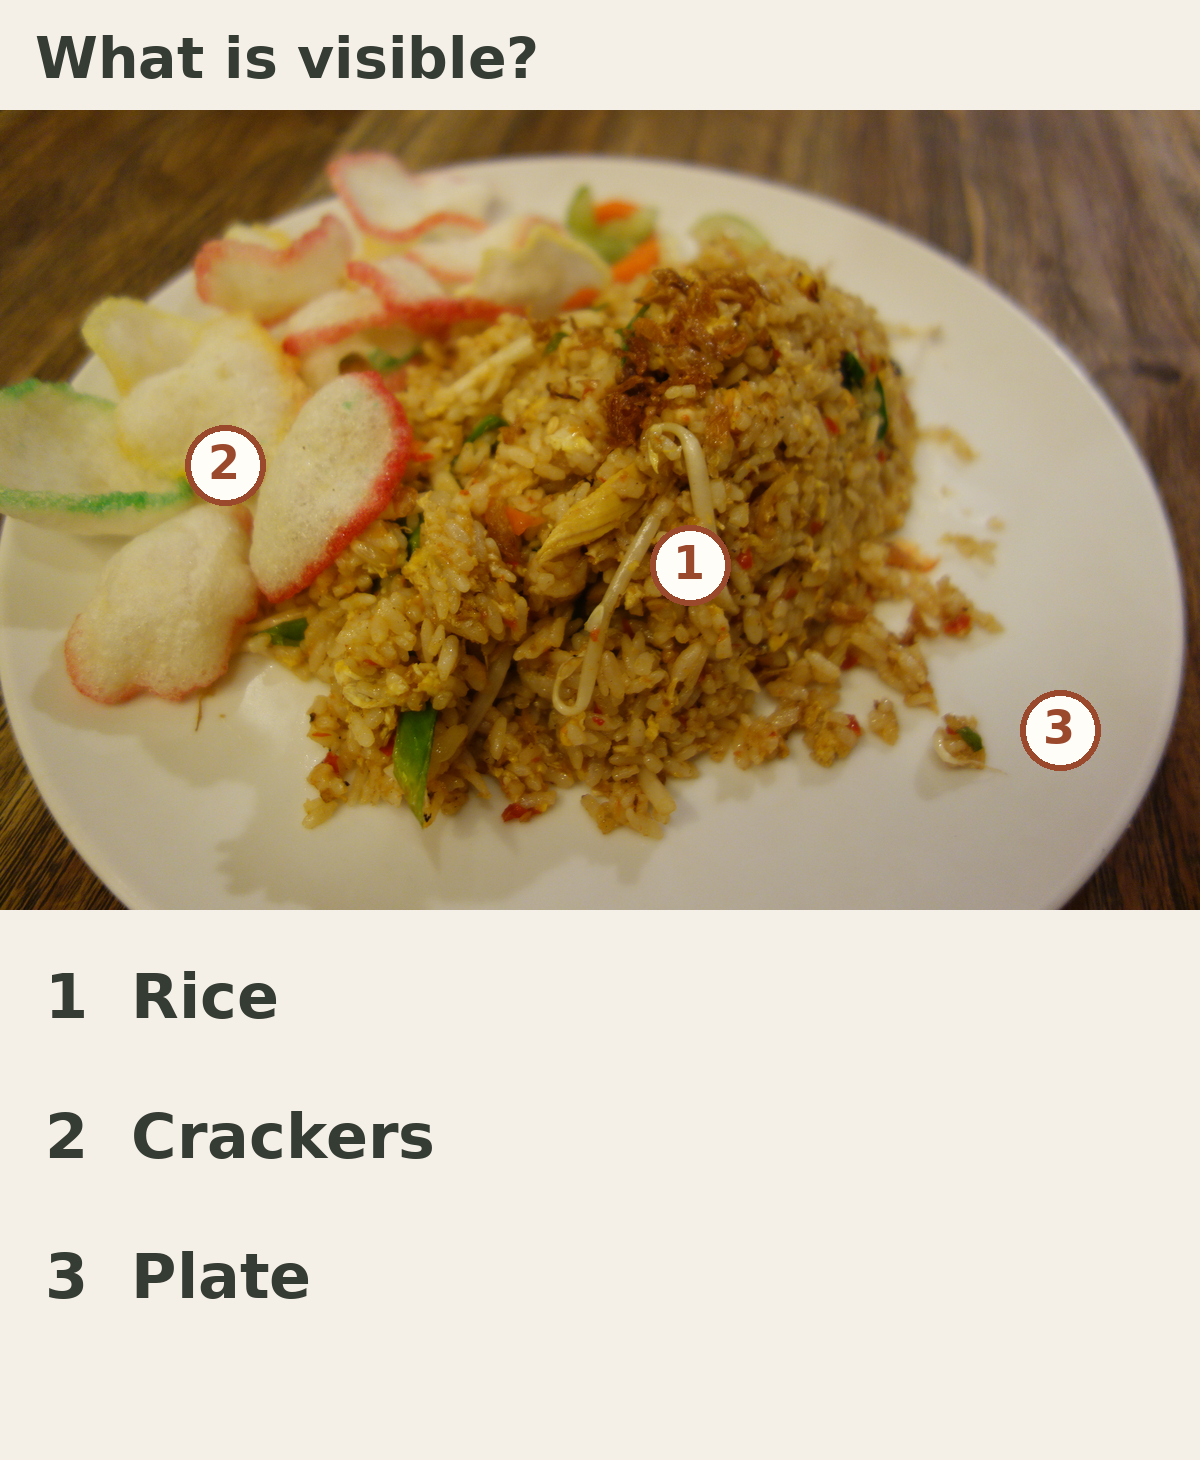
The licensed reference photograph here shows rice, crackers and a plate together. It is a contextual visual example, not your business’s menu or an SCI project. Crackers appearing in that photograph do not establish that they are included with any item you sell.
Check the image against its description before publishing
When reviewing a photograph, open it alongside the item name and description intended for publication. Check that the variation matches, visible sides agree with the offer and optional extras do not look automatically included. Resolve unclear details before the file is placed on a sales channel.
Give feedback that someone can act on. Instead of “not quite right”, write “this is the variation without a drink; keep the glass out of the item photograph” or “use the view showing the selling vessel, rather than the detail crop”. These are examples of instructions, not a provider’s package conditions or a promise of revisions.
Keep the final choice with the item code and version. If the contents, vessel or sides change, review the image and description together again. Do not automatically reuse an older photograph just because the name remains the same. The person uploading it needs to know which version is approved and which questions remain open.
Bring menu notes to your discussion with SCI
To discuss product photography with Shaniba Creative Industry, bring an item list, serving and vessel references, and examples of where the images will appear. SCI’s product photography service page offers concept consultation.[1] That linked service page is in Indonesian. Explain whether you need individual-item images, meal-combination images or separate supporting materials.
You can start through the SCI contact portal.[2] The most useful brief is not necessarily the longest. It makes clear what is sold, what needs to be visible and who confirms that the image matches the offer before publication.
Share this post to: