Showing Actual Product Size: Agree on Scale References, Not Guesses
A small cup can look like a large mug when it fills the frame. A larger object can seem modest when surrounded by empty space. A product photo scale reference therefore belongs in the brief, not in an after-the-shoot guess. Agree on the comparison object, the source of the dimensions and the description that will accompany the photograph. Showing actual product size is not the same as making a product look large on screen.
For a brand owner, this agreement gives the photographer a clearer task and helps prepare useful information for buyers. Start with one product and a practical question: can someone understand the size of the item they will receive from its photographs and description? Attractive imagery and accurate dimensions serve different purposes, but they work well together.
Daftar Isi
Separate object dimensions from image dimensions
Physical dimensions describe an object’s length, width, height or diameter in agreed units. Image dimensions describe its pixel count and the shape of the frame. A higher-resolution file does not automatically communicate physical size. Devices, website layouts and zoom controls can all change how large a photograph appears to its viewer.
Consider a generic cup. Body height, rim diameter and overall width including the handle answer different questions. If your brief only says “width”, the photographer and the person updating the catalogue may interpret it differently. Identify the part being measured, whether a lid or accessory is included, and the exact product variant. Use dimensions supplied by the owner or obtained through accountable measurement, not estimates from a photograph.
Adobe’s product photography guide recommends discussing required angles and label visibility with the client before a shoot. Apply that planning principle to scale: decide whether you need a clean product image, a comparison image or a photograph with dimension labels. There is no need to force all three jobs into one crowded picture.
Put the essentials in your product photography brief: product name and variant, the part being measured, its dimensions and units, and the person or record responsible for those figures. If the measurements are still uncertain, resolve them before approval. Do not fill in plausible numbers simply to finish a catalogue layout.
Choose a product photo scale reference with known dimensions
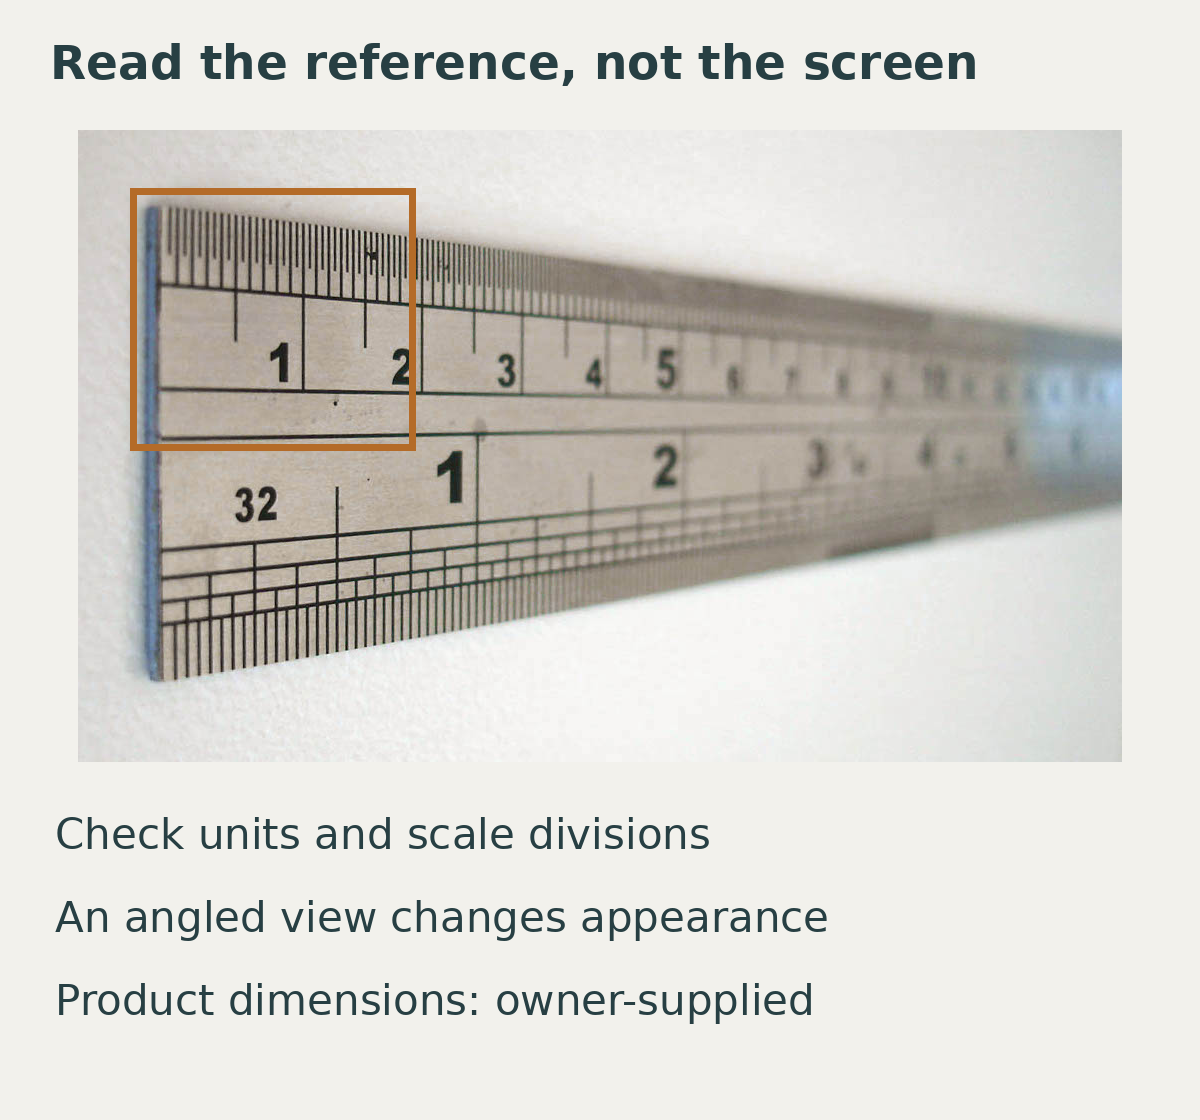
A comparison object helps when viewers know its size or its description supplies the relevant dimensions. A ruler can show unit divisions. Cards and everyday objects need a little more care: not every card, spoon, phone or hand is the same size. A familiar object is not automatically a measurement standard.
For the cup example, request a contextual image with a simple, checked reference and provide the cup’s dimensions in the accompanying text. Choose a reference that does not obscure the rim, base or handle. Avoid props that attract more attention than the product itself. If a prop carries a logo or character, consider whether its use is necessary rather than adding it casually.
Also agree whether the reference belongs in the delivered image or only in an internal reference photograph. A ruler beside a product may be useful for recording its dimensions without being appropriate for every catalogue image. Check the destination channel’s current requirements before deciding which photograph will be the main listing image and which will be supplementary.
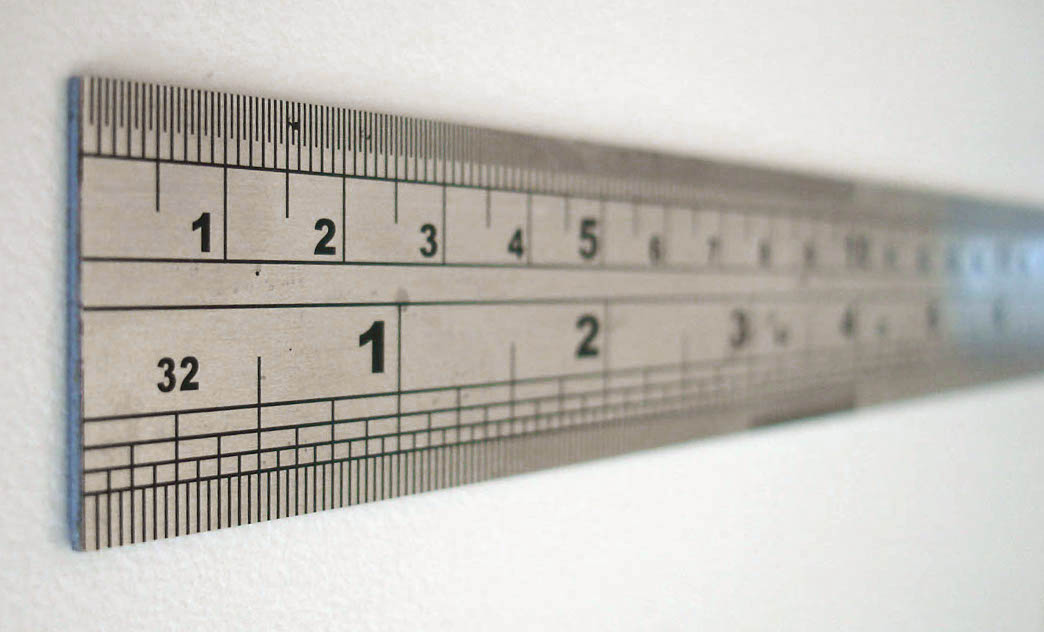
The ruler photograph in this article shows scale markings from an oblique viewpoint; it does not measure your product. It illustrates why viewers need units and context rather than an unexplained row of numbers. Measuring the picture on your screen with a physical ruler will not reveal the dimensions of the photographed item.
Keep position and viewpoint relationships clear
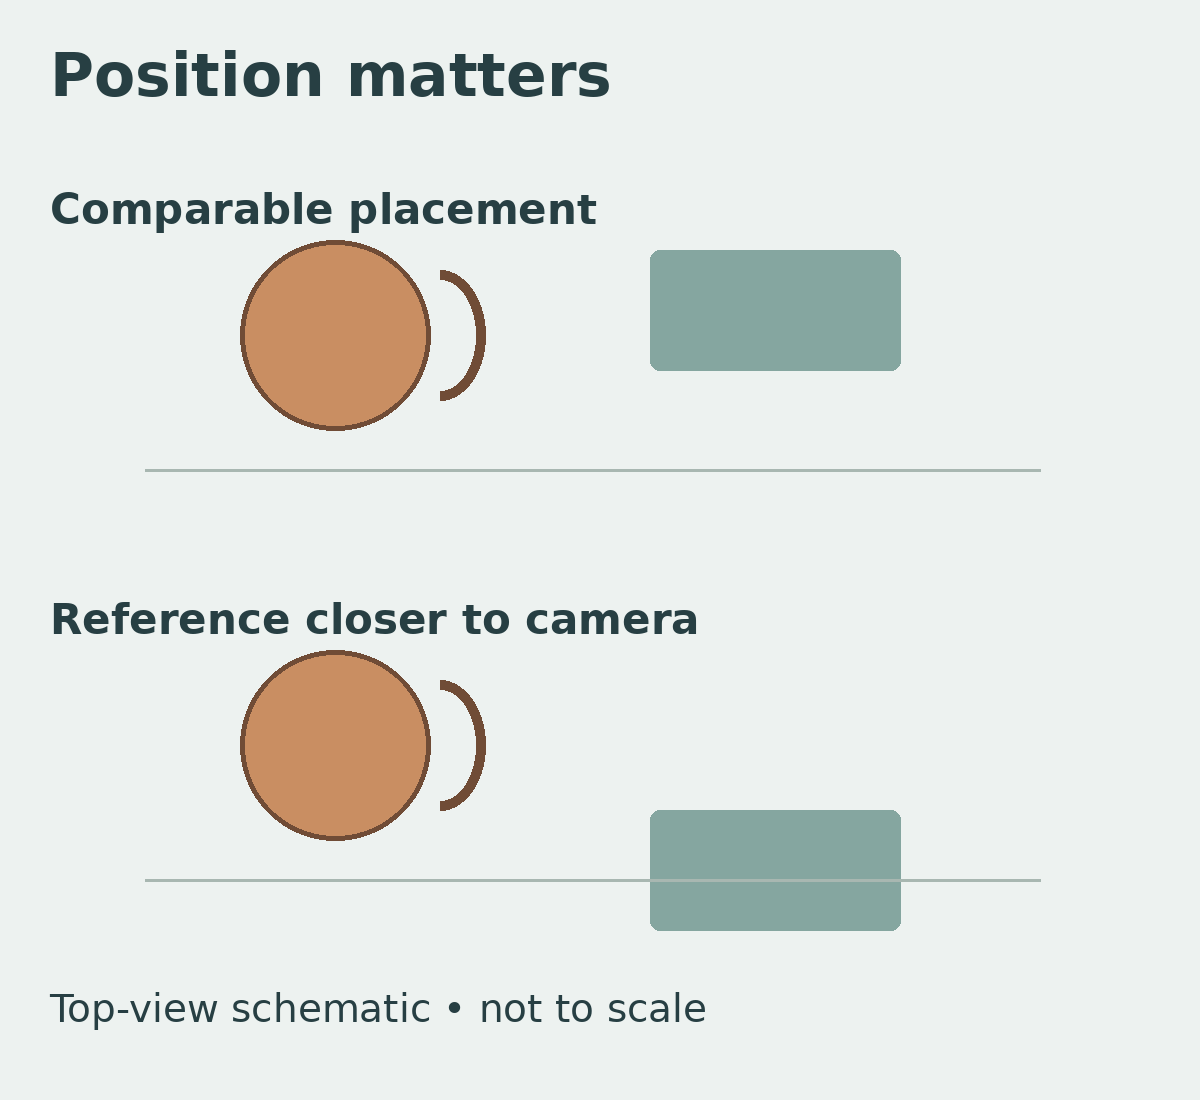
A reference closer to the camera can appear larger relative to an object behind it. Simply placing two objects in one frame is therefore not enough to make their relationship easy to read. Ask the photographer to arrange a relevant comparison and explain the limitations of the chosen viewpoint.
For a cup and reference object, decide which dimension matters. A front view can help explain height; a view from above can reveal the opening and the position of the handle. An angled view may communicate shape well, but should not be the only basis for interpreting length or diameter. This is visual communication, not a metrology procedure or a way to calculate dimensions from pixels.
Adobe’s ecommerce photography guide distinguishes clean product images, contextual photographs and detail shots. Context can help viewers visualise scale and setting. It does not replace checked dimensions, just as a texture close-up does not necessarily explain the overall size of an object.
When selecting and editing images, avoid enlarging the product independently of its reference just to give it more prominence. If the objects come from separate photographs or a composite, review their size relationship again. For an image intended to explain scale, preserve an honest relationship and make that requirement explicit in the brief.
Check the dimension description before approval
Review the final images against the same product sample and dimension list. Check the variant, included parts and the meaning of every figure. If the description gives a diameter excluding the handle, make sure it cannot be mistaken for overall width. Keep external dimensions, internal dimensions and capacity separate; none should be inferred solely from the appearance of another.
Request a preview in the intended layout. A small reference object or dimension label may be difficult to read on a phone even when the original file is sharp. If necessary, provide a simpler supplementary image. Keep the dimensions in the page text as well, rather than making customers depend entirely on lettering embedded in a photograph.
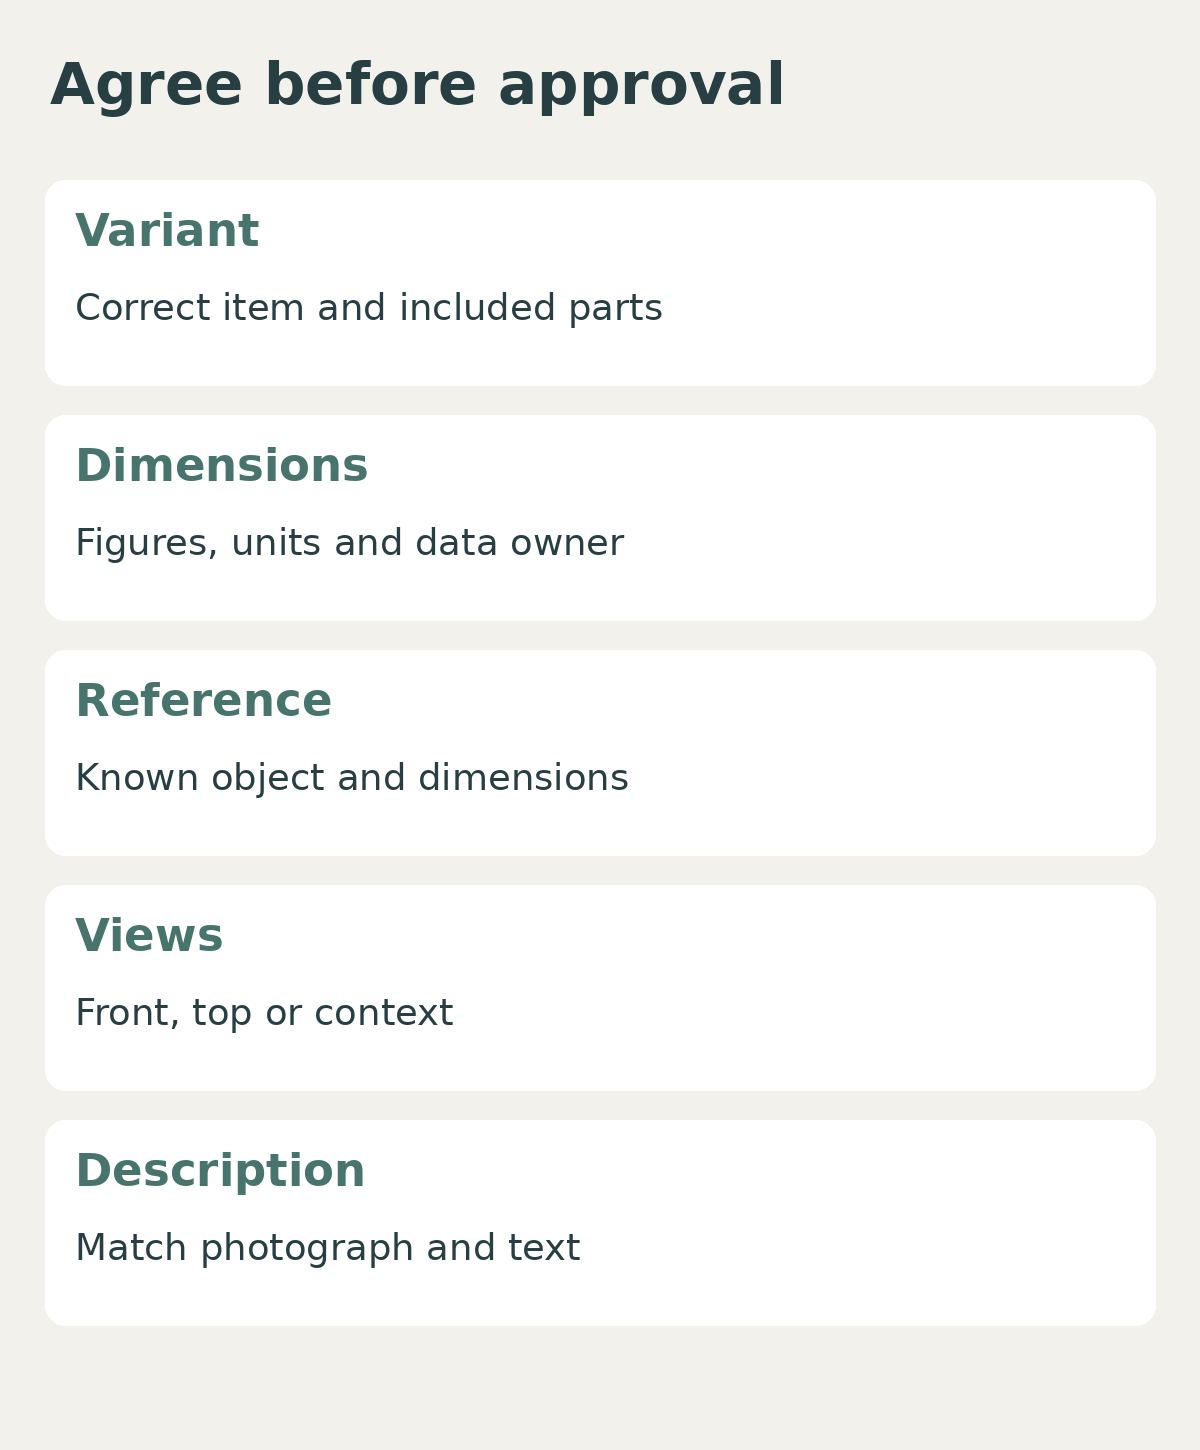
Before approval, record five decisions: the correct variant, owner-supplied dimensions and units, the chosen reference, the required views and the final description. Name the person responsible for confirming the dimensions. This is more actionable than asking for the size to “look real”, an instruction different people may interpret differently.
If you are planning product photography in Yogyakarta, bring a sample or product reference and a dimension list when discussing product photography with Shaniba Creative Industry. You can contact SCI to discuss the concept and views you need. Start with the information buyers require: photographs communicate shape and scale relationships, while agreed data explains the item’s dimensions.
Share this post to: