Natural Light Food Photography: A Practical Client Guide
Your food photographs need to show what customers can expect: the portion, the main ingredients and the character of the dish. Natural light food photography can give that presentation a relaxed feel, but the result depends on how the light is shaped, not simply on placing a plate beside a window.
For a restaurant, café or home food business, the useful question is whether the photographs will work in a menu, a delivery listing or a campaign. Start with that destination, then choose the lighting and composition together. An attractive photograph is a communication tool, not a promise of higher sales.
Daftar Isi
Shape the light in natural light food photography
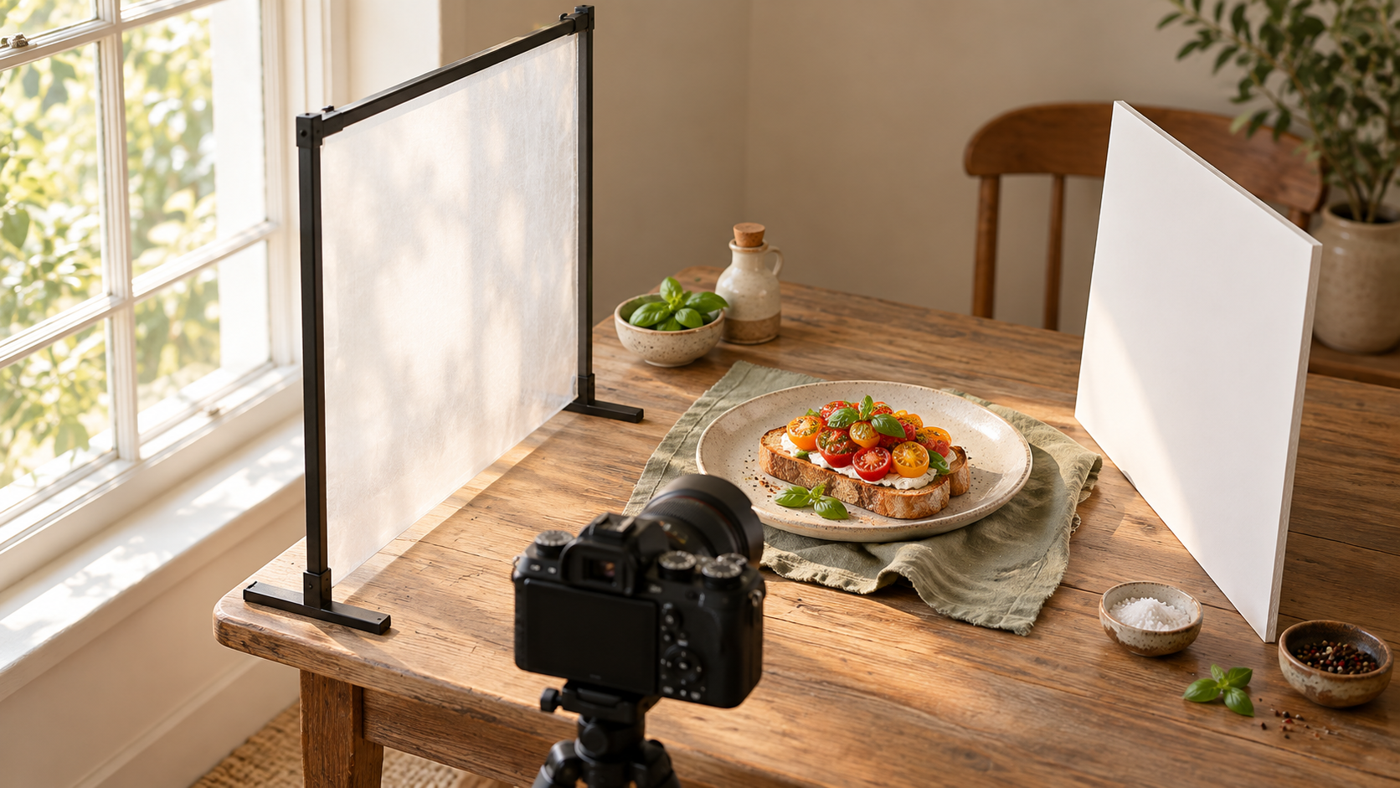
Natural light means daylight; a natural-looking photograph describes an appearance. They are not interchangeable. A photographer can create a restrained, believable result with controlled studio lighting too. If your reference has soft shadows, explain that preference rather than assuming the shoot must depend entirely on sunshine.
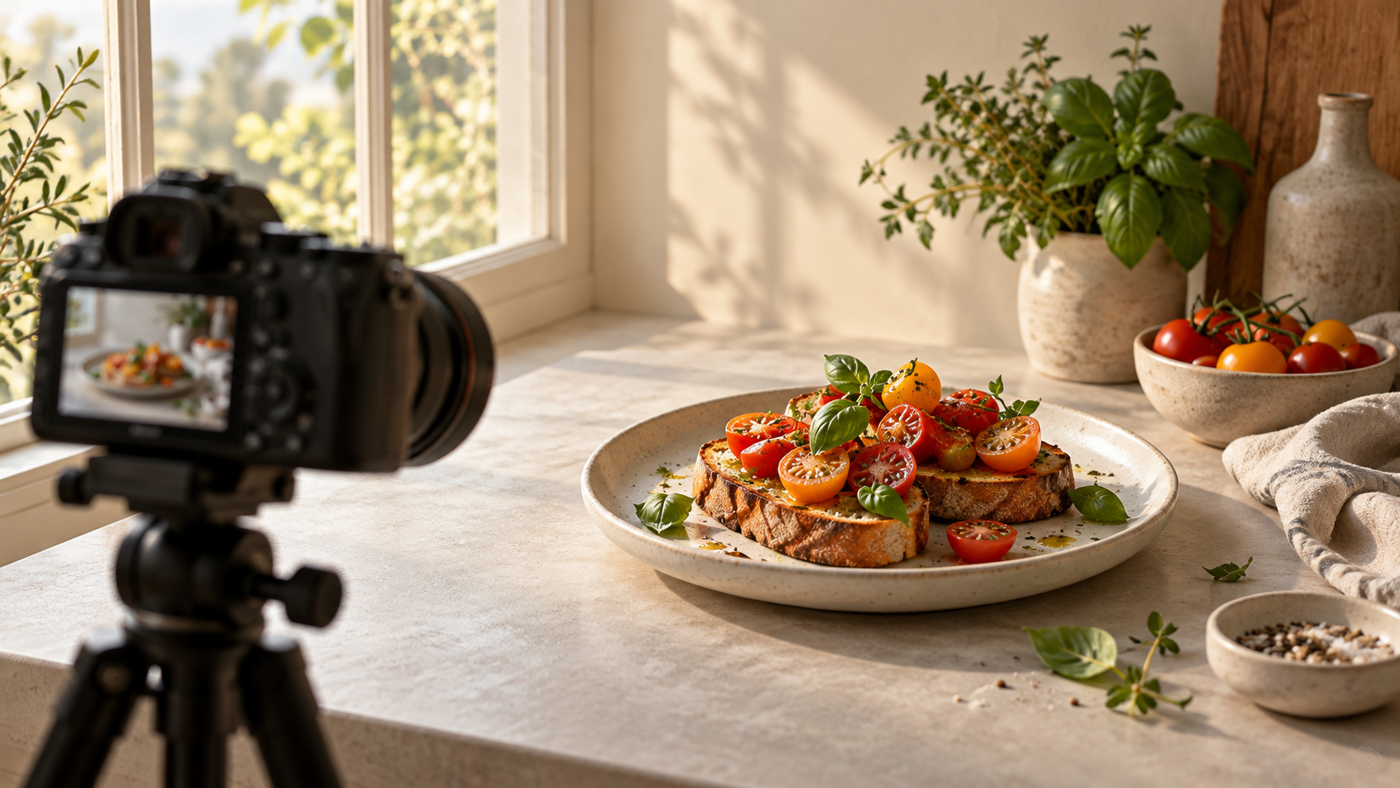
A large window can be a practical starting point. Canon describes window light as often soft and diffused and recommends a reflector or white card when one side of a product is too dark.[1] Its food photography guide also describes working near a window and using a reflector to redirect light onto the subject.[2]
Look at the actual shadow before choosing the setup. Direct sunlight through a window can create distinct edges and strong contrast; it is not automatically soft or warm in every situation. A diffuser is a translucent surface placed in the light path to soften the illumination. A white bounce card on the opposite side can lighten shadows without adding another powered light.
Change one element at a time. Move the plate, adjust the card, then compare a test frame. Leave enough shadow to describe the shape of the food instead of trying to make every surface equally bright. For a glossy sauce or glass, check whether a bright reflection hides the detail you want customers to see.
Avoid casually mixing daylight with a warm room lamp. Canon notes that different colour temperatures can make white balance harder to correct.[1] White balance is the adjustment that keeps neutral objects from appearing too yellow or blue. Use a test image to check the plate, food and background together before photographing the rest of the menu.
Keep styling and composition honest
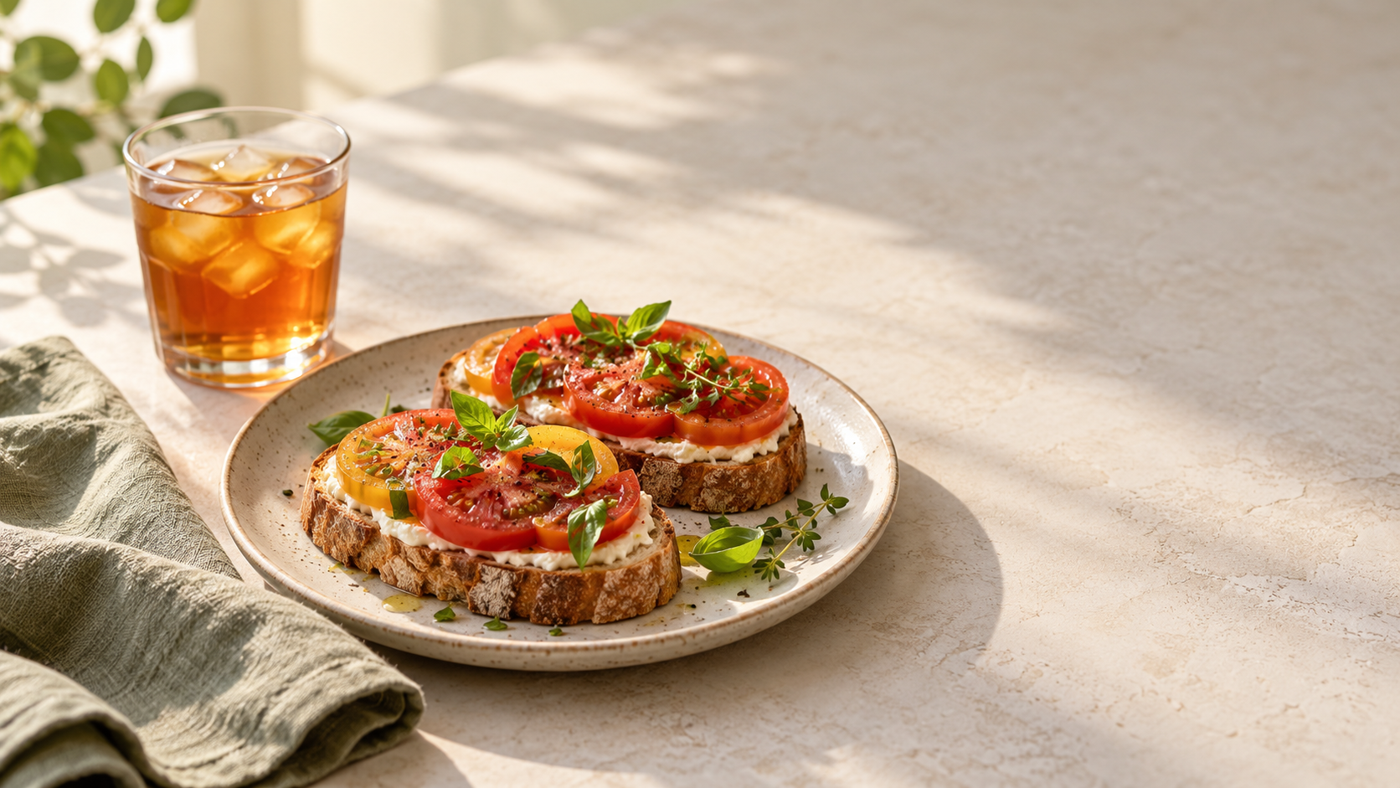
Lighting should help the food remain recognisable. Agree which details matter: the surface of toasted bread, the filling inside a sandwich, or the layers of a drink. Choose an angle that explains those details rather than hiding them behind props. A higher view can show an arrangement on a plate; a lower view may explain height more clearly.
Keep supporting objects deliberate. One napkin or a relevant ingredient can provide context, but several unrelated accessories can compete with the dish. Canon’s product photography advice recommends a simple setup so the product remains the focus.[1] For a menu photograph, that means the customer should not have to guess which item is being sold.
Use the portion and serving arrangement you actually intend to offer. Make clear whether a drink, garnish or side dish is included or merely a styling element. Retouching instructions should distinguish cleaning a distracting mark from changing the apparent quantity, colour or ingredients of the food.
Review both a full frame and a close view. The full frame checks the hierarchy: dish first, props second. The closer view checks the important texture and focus. A shallow blur can create atmosphere, but it should not hide the detail needed to understand the product. These are review choices, not a single camera setting that suits every dish.
Agree crops and deliverables before the shoot
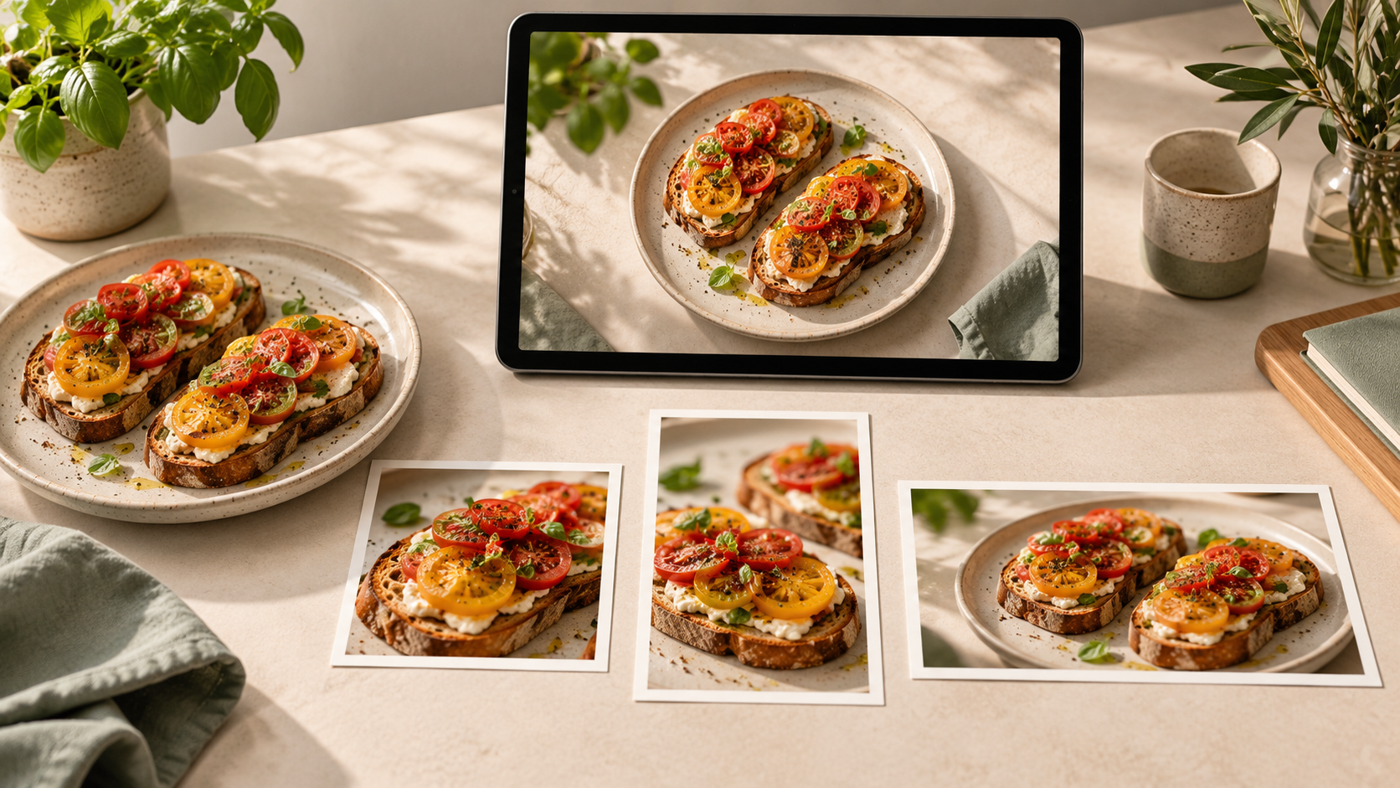
A beautiful wide photograph can become awkward when a platform crops it into a square. Tell the photographer where each image will appear and which part of the dish must remain visible. Request suitable framing for the required layouts rather than assuming one tightly cropped file will work everywhere.
For example, a hypothetical café might need a clear square menu image and a wider campaign image with room beside the plate for a headline. Those uses can share a visual direction while needing different compositions. Send the actual layout or reference dimensions and identify any space reserved for a price or logo.
For a consistent menu set, agree a reference frame covering the background, angle, shadow depth and colour. Compare subsequent dishes against that reference. If daylight changes, pause for another test rather than assuming that the next frame will match. The goal is a coherent set, not a claim that natural light always produces identical results.
Shaniba Creative Industry offers food and beverage photography within its product photography services.[3] For your consultation, prepare the dish list, intended uses, example mood and any presentation details that must stay accurate. Ask how the desired natural-looking lighting can be achieved for your specific products; do not treat a reference image as confirmation of a particular setup or package.
You can review the SCI food and beverage photography service page in Indonesian and discuss your food photography brief. Confirm scope and delivery requirements directly before booking.
References
[1] Canon: product photography tips. [2] Canon: getting up close with food photography. [3] SCI: food and beverage photography.
Share this post to: