

Product Photo Editing: A More Efficient Workflow
Product photo editing can become repetitive when a catalogue contains several views of each item. The useful shortcut is not to rush every image: it is to decide what can be repeated, protect the original files and reserve individual attention for the details customers need to see.
Before you begin, agree which colours, surface details and labels must remain faithful to the product. That reference helps you decide which adjustments can be shared and which images need individual attention.
Daftar Isi
1. Organize product photo editing before adjustments
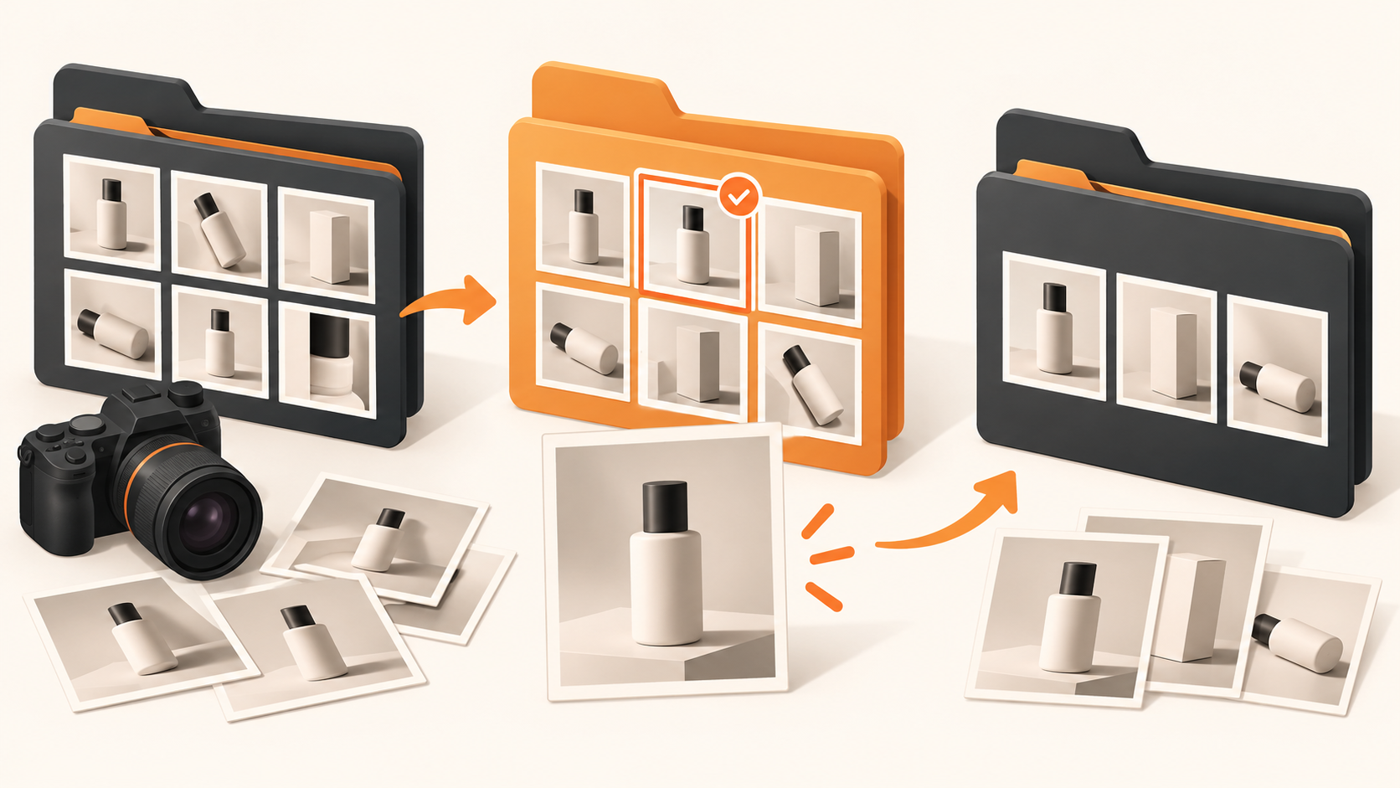
Start with the delivery brief. Record where each image will appear, the required aspect ratio, minimum pixel dimensions and naming convention. Check the destination’s current requirements rather than relying on an old template. A marketplace listing, website banner and social post may need different crops from the same original.
Keep original files separate from working selections and final exports. Use a consistent product identifier in filenames or folders so another team member can find the correct view without guessing. Select the usable frames first: removing obvious duplicates from the working set avoids spending time on images you will not deliver.
For example, a small catalogue might use an originals folder, a selected-images folder and destination-specific export folders. Choose a folder structure your team can maintain, and keep backups appropriate to your storage workflow.
2. Batch similar photographs, then check each image

Group photographs with comparable lighting and backgrounds. Adjust a representative image, then transfer only the settings that make sense for that group. Adobe’s Lightroom Classic documentation confirms that you can copy selected edit settings and paste them onto multiple photographs.
A preset or copied adjustment is a starting point, not proof that every frame is finished. Exposure, reflections and white balance can differ even within one session. Avoid applying a crop, local repair or strong colour treatment indiscriminately when products occupy different positions or have different surfaces.
Review every image against the real product or an approved reference. Check whether colours, printed details and material texture remain believable. A catalogue can look consistent without forcing all products into the same brightness or saturation. The goal is repeatable handling with accurate individual results.
3. Use shortcuts and automation with clear limits
Learn a few shortcuts for the actions you repeat most often in your installed application. Use its own help and shortcut settings because commands can differ by platform and version. A small familiar set is more useful than a long list you cannot remember.
Automatic tonal tools can help establish an initial adjustment, but inspect their effect. Treat generative filling or object removal especially carefully around product edges, logos, ingredient text and packaging. A plausible-looking invented detail can misrepresent an item. When accurate detail cannot be recovered, return to the original capture or request a better photograph rather than presenting a guess as fact.
Set a review priority: readable labels, sound edges, plausible colour and a clean background come before decorative refinements. Avoid smoothing away texture that communicates the product’s material. Check those details again after resizing, when sharpening or compression can make an edge defect more noticeable.
4. Save export presets and inspect delivered files

Editing settings and export settings solve different problems. Lightroom Classic exports new files incorporating your adjustments; its official documentation says you can choose naming, colour space, pixel dimensions and resolution, and save export settings as presets.
Create a checked export preset for each destination you regularly use. Choose the format and colour space required by that destination, then verify the actual exported dimensions and filename. Do not confuse a resolution label with the pixel dimensions needed on a website.
Open the finished files outside the editing application. Look for an incorrect crop, clipped edges, excessive compression and missing views. Check a sample at the size customers will see, then inspect important details more closely. If requirements change, update the relevant export preset rather than silently reusing the old one.
A clearer handoff to SCI
If you need support, Shaniba Creative Industry’s photo editing and retouching service offers an online workflow. Share the original files, product references, intended destinations and a clear editing brief so the discussion starts with your actual needs. Confirm the scope, timing and cost directly before approving the work.
For an in-house team, the same principle applies: agree on one reference image and a delivery checklist before processing the full set. Efficient product photo editing comes from fewer avoidable decisions, not from removing the final quality check.
Further reading
Adobe: copy and paste edit settings; Adobe: export photos from Lightroom Classic; and SCI’s service page linked above. Use these references for the application steps, then check your destination’s current delivery requirements before exporting.
Share this post to: