Does Your Product Look Wider After Editing? Separate Perspective from Shape Changes
A product that looked slender in the original photograph now seems wider in the edited version. Start your product photo proportion review by comparing the source and result from the same frame. Separate the effects of the shooting angle, display size and editing transformations. They can look similar, but they call for different decisions.
The aim is not to make every edge parallel or work out physical dimensions from a photograph. You need to decide whether the image still represents the product shape you intend to show, then describe any correction clearly enough to discuss. When arranging online photo editing, identifying the features that must stay unchanged matters as much as sharing a visual style you like.
Daftar Isi
Start your product photo proportion review with the same frame
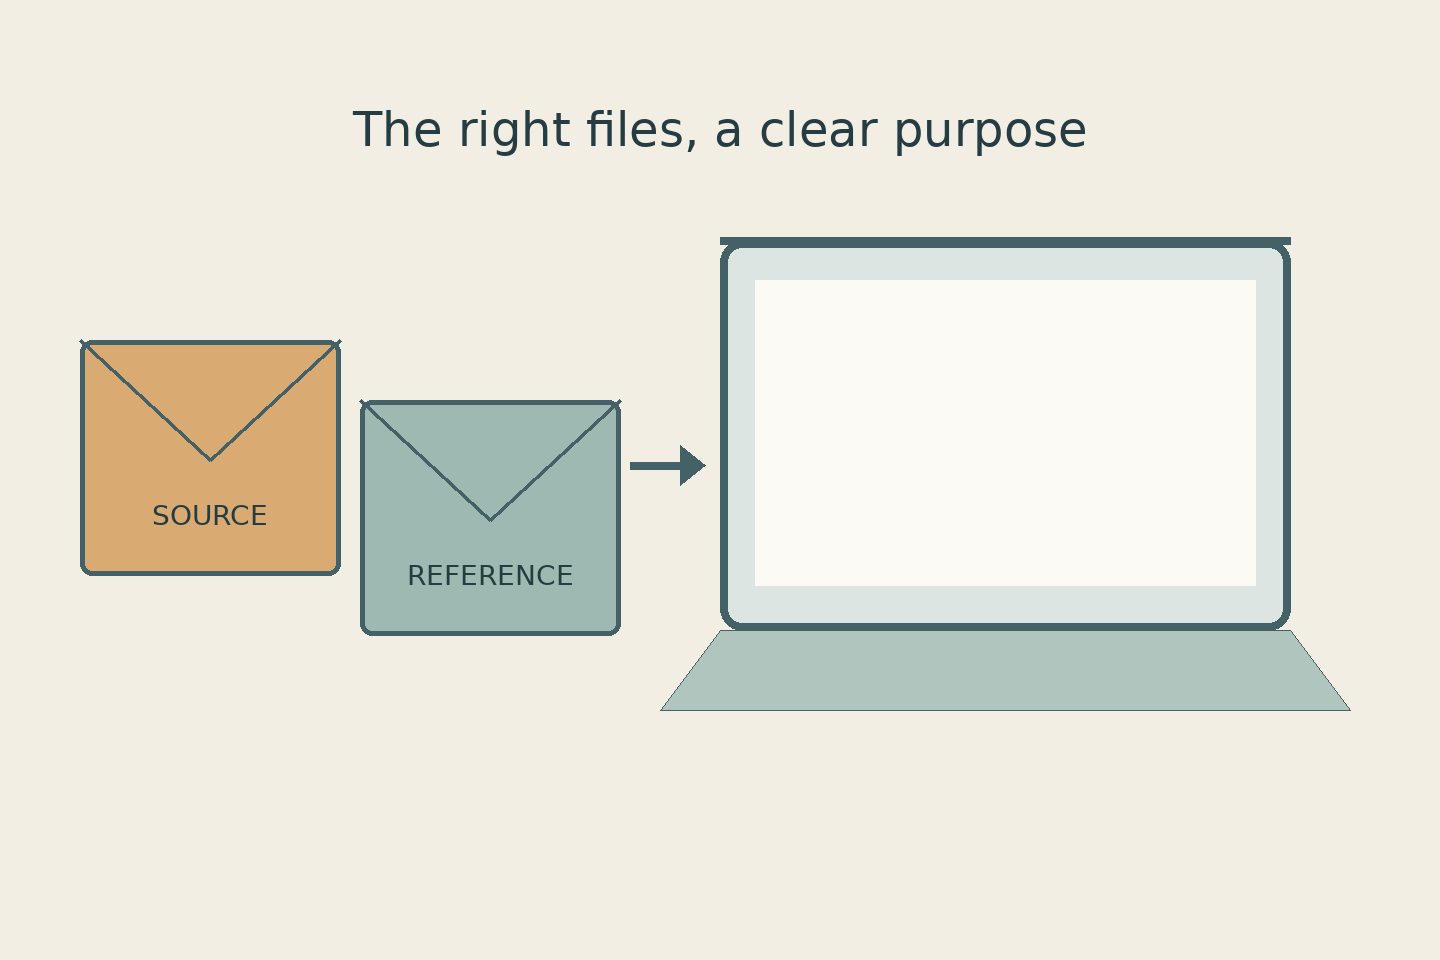
Open the original and edited files side by side. Check that they really come from one exposure, rather than two similar photographs. Match their orientation and the object’s display size using proportional scaling: do not stretch one image just to make the canvas boundaries align. If one version has been cropped, compare the product areas that remain visible in both.
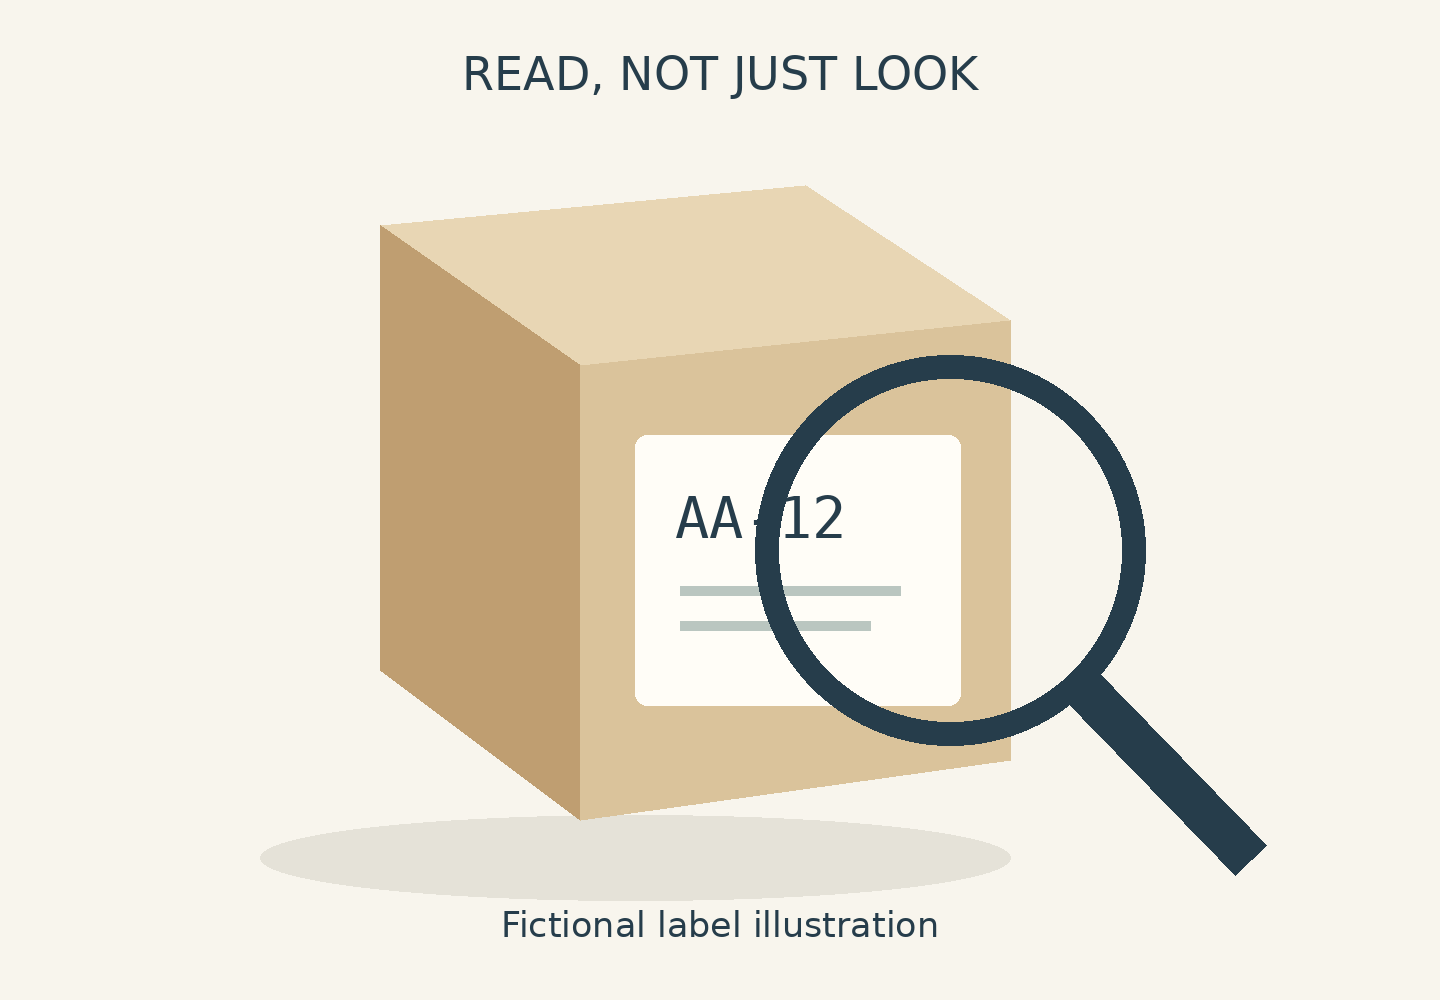
Look at relationships between features, not just the overall impression. Does the lid look wider relative to the body? Has a circle on the label become an oval? Does the spacing between two details seem different? Record the area, filename and version. That gives an editor more to work with than “the shape looks wrong” without a location or reference.
A photograph from another angle can help explain the product, but it is not an equivalent before-and-after pair. Near and receding surfaces can look different because of perspective. Do not assume an editor changed the shape simply because two photographs were taken from different viewpoints.
Separate rotation, proportional scaling and stretching
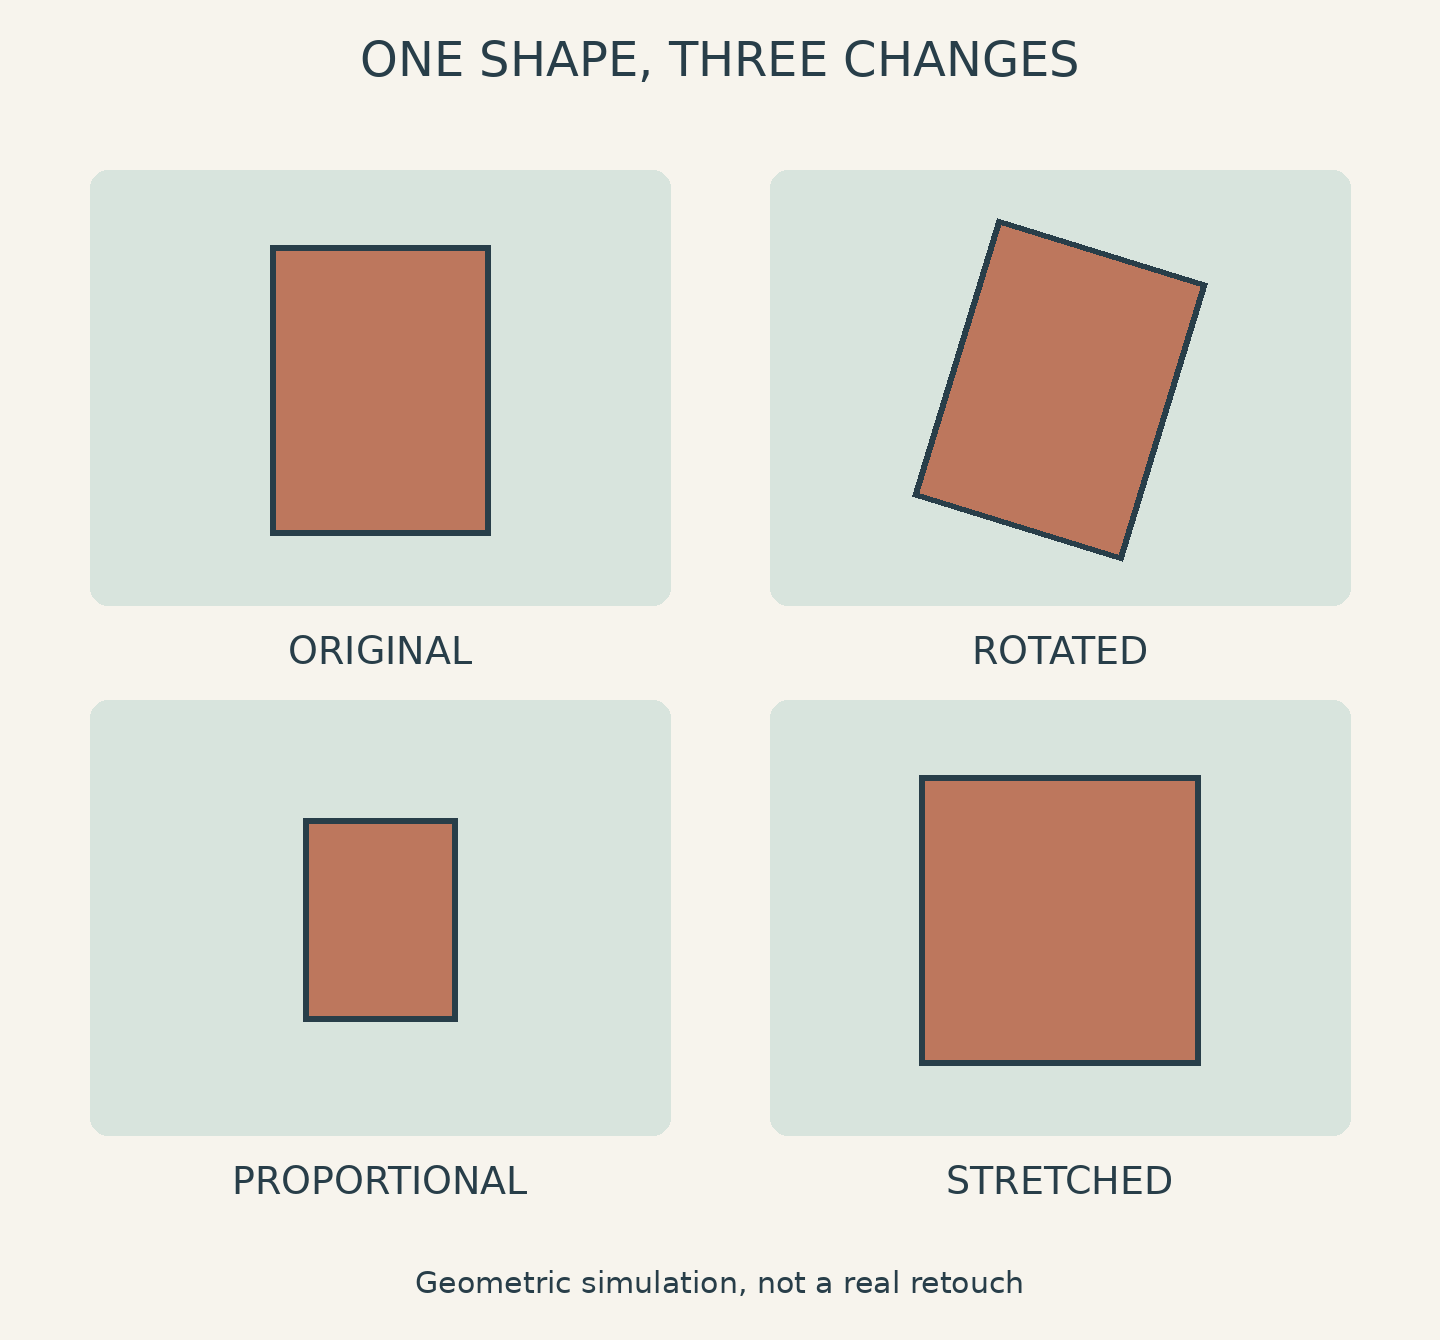
Rotation turns an object within the image plane. A tilted box may occupy a wider horizontal span on screen even though its shape has only rotated. Check orientation before requesting a reduction in width.
Proportional scaling increases or decreases width and height by the same factor, preserving their two-dimensional relationship. In its Photoshop transformation guide, Adobe explains using Maintain aspect ratio for proportional scaling. It distinguishes that operation from non-proportional scaling, rotation, skew, distort and perspective transformations.
Non-proportional stretching changes width and height by different factors. A simple example is making a shape wider without increasing its height by the same proportion. Applied across an image, this can affect packaging, logos and other details together. The diagram uses the same original geometric shape throughout to make the distinction clear; it is not a real product retouching result.
Perspective transformations and warping do more than enlarge an image, too. They can change the relationships between points. Locking the aspect ratio during scaling does not establish that perspective is correct or that an object’s physical shape has been recovered. A single setting or guide line is therefore not enough to approve the result.
Identify the features that must not change
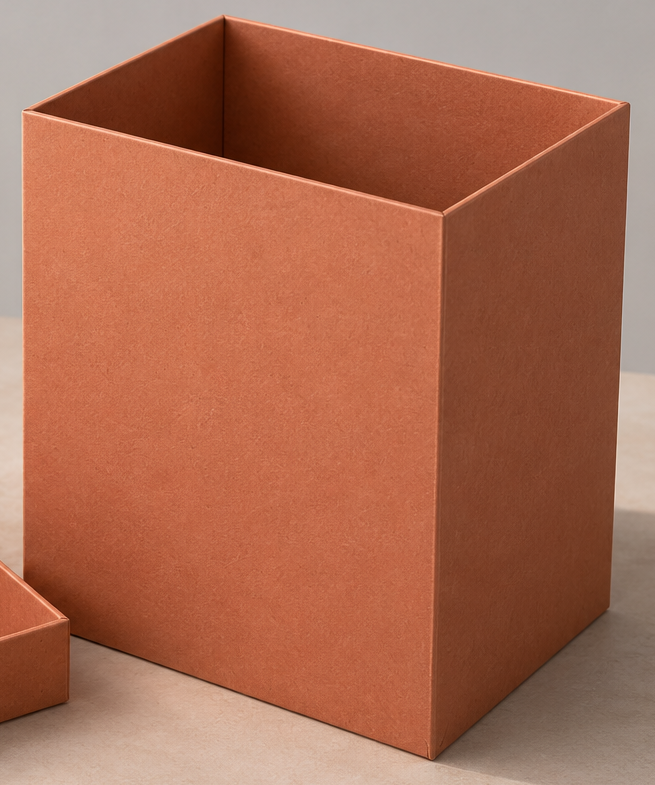
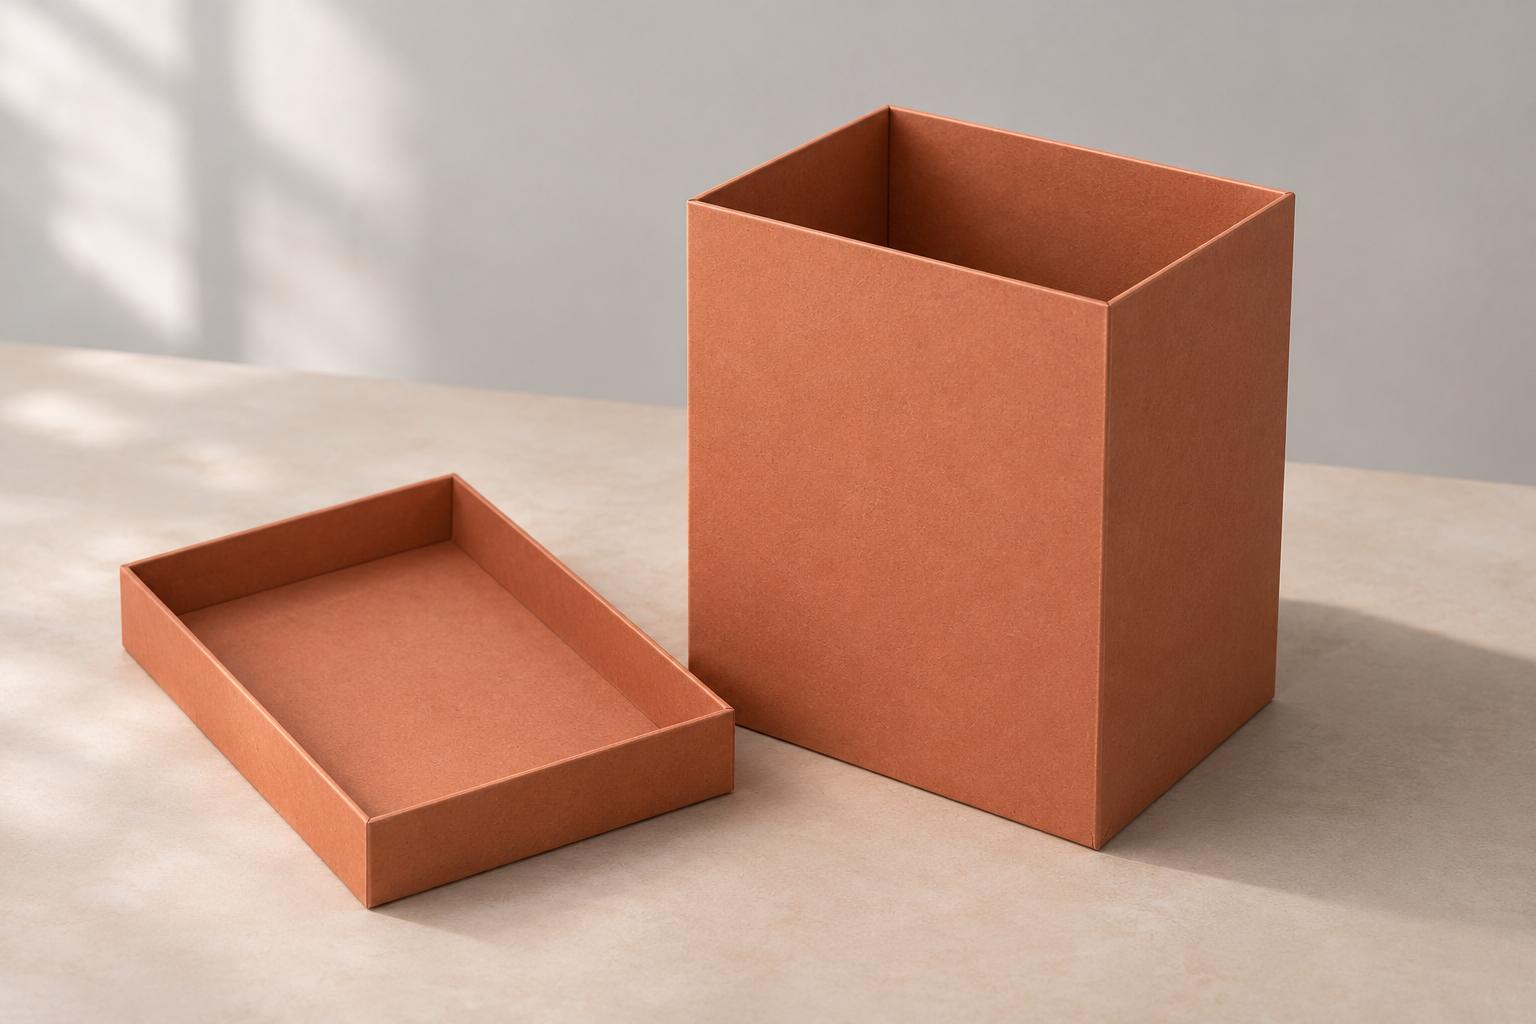
Choose a few features that matter to product identity: the lid-to-body relationship, the curve of a bottle’s shoulder, a handle opening or an emblem’s shape. For lettering and logos, provide an authorised reference from the brand owner when available. Do not ask an editor to guess small characters from an unreadable area.
For example, you might want the vertical edges of a box to look less tilted while preserving the width of the front panel and the logo’s shape. State both requirements together. “Straighten everything” can hide a conflict between a strongly frontal appearance and the viewpoint information already captured in the photograph.
Annotate a copy rather than overwriting the source. Circle the relevant area and add a short comment. If the product has several packaging variants, identify the one your reference represents. A different variant should not become the shape reference without an explanation.
Choose a limited correction or an additional photograph
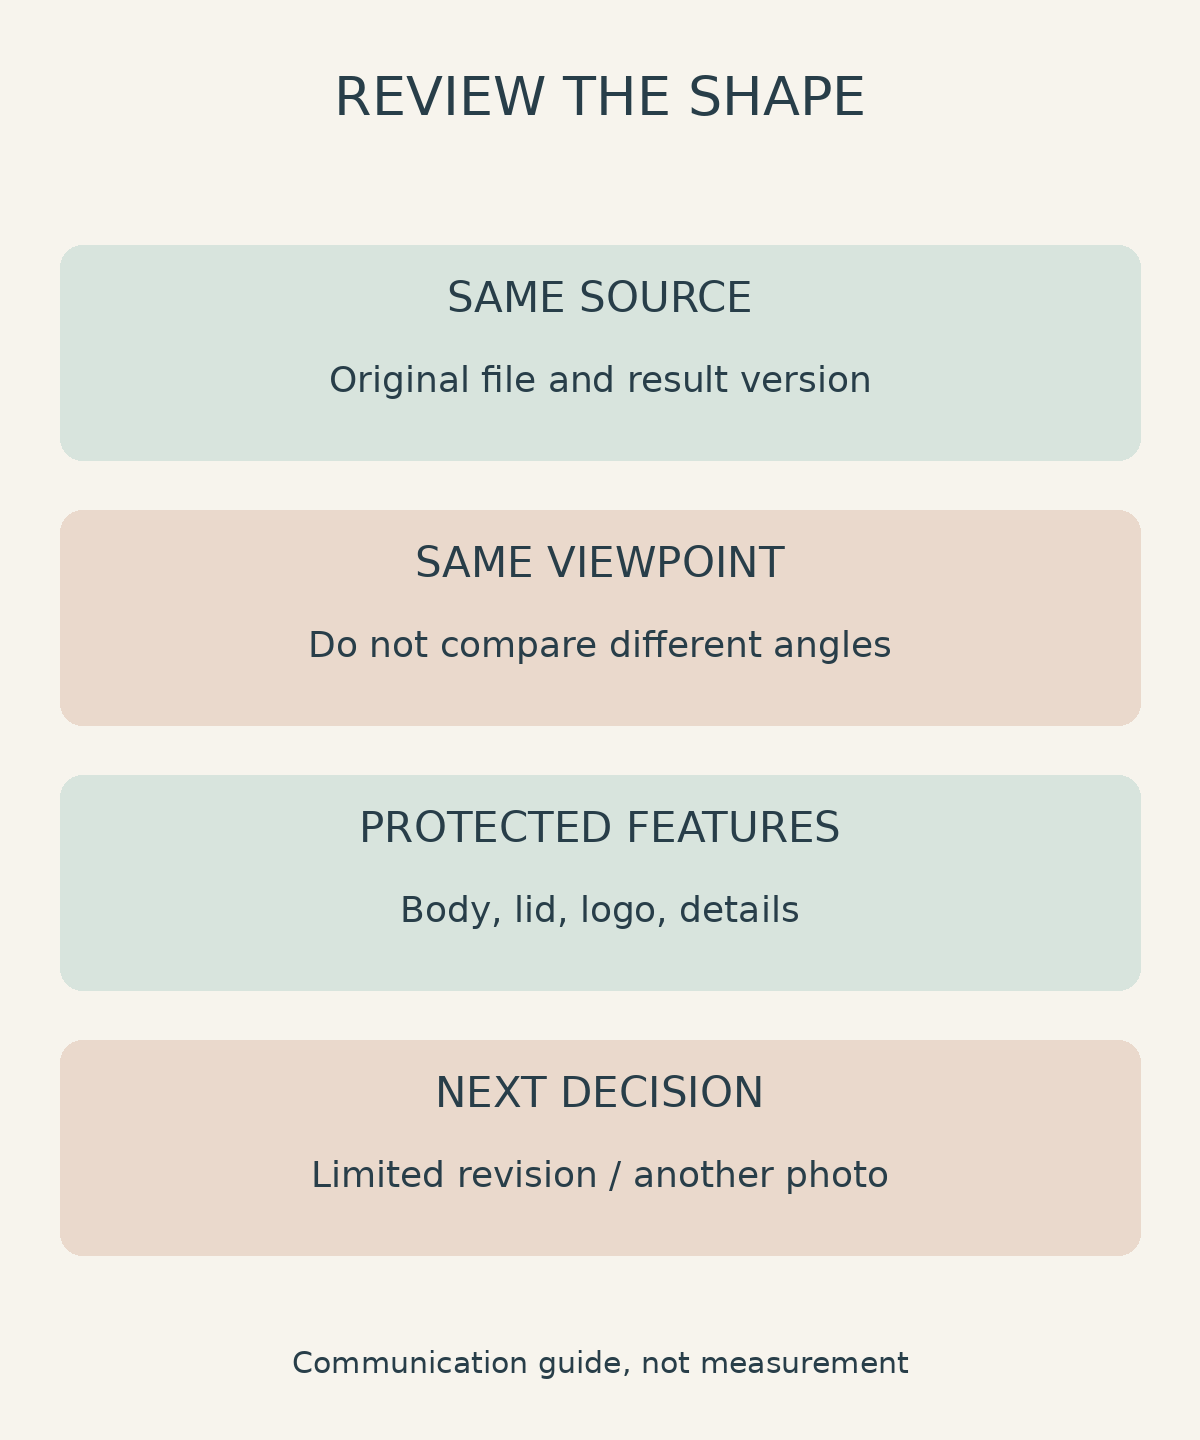
If the difference appears in an edited result from the same frame, ask for a review of transformations around that area. Explain which features may change and which must stay. After revision, compare the whole object as well as the protected details. Correcting one edge is not enough if other features have changed unintentionally.
If the original viewpoint does not show the surface you need, an additional photograph may be more useful than forcing the image into a front view. One photograph does not show every side of an object. Agree whether the intended output is a photographic representation or a conceptual visual; the two should not be presented as if they provide the same evidence of product shape.
Here is an instruction you can adapt: “Please compare source A and result B from the same frame. The front panel seems wider. Review the transformation while preserving the lid-to-body relationship and logo shape. If the original angle is insufficient, explain the limits of the correction or the additional photograph needed.” This is a communication example, not a promise of a particular result.
Bring the source and your notes to the discussion
Keep the source file, the reviewed result, notes on protected features and revision decisions in a recognisable sequence. You do not need a universal numerical tolerance to begin the conversation. Everyone does need to discuss the same version and intended use, without confusing on-screen measurements with an object’s physical dimensions.
To discuss the scope of Shaniba Creative Industry’s photo editing service, bring those files and your intended use to the SCI consultation channel. Clear notes help distinguish the correction you want, the information available in the original photograph and any need for additional photography before you approve the result.
Share this post to: