Product Detail Photos: Prioritize What Must Be Visible, Not Just Zoom
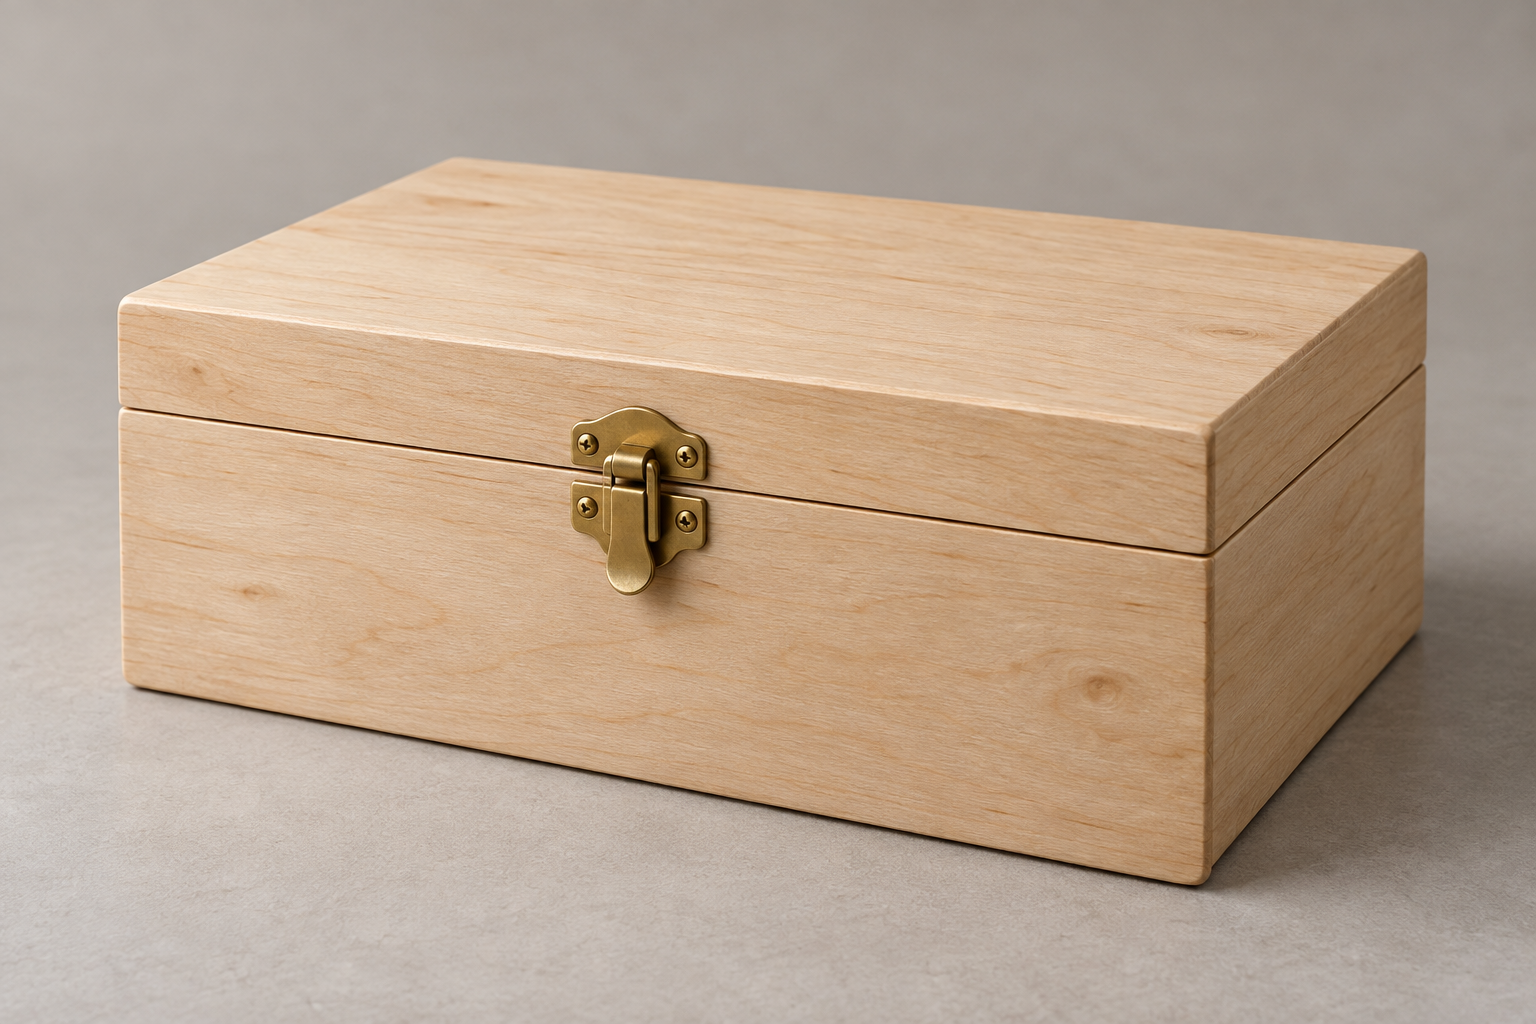
Your main photograph shows a neatly presented box, yet a buyer may still wonder what the clasp looks like, where the lid meets the body, or how the surface appears. More zoom will not necessarily answer those questions. Product detail photo priorities should begin with information that is missing, rather than a desire to collect as many close-ups as possible.
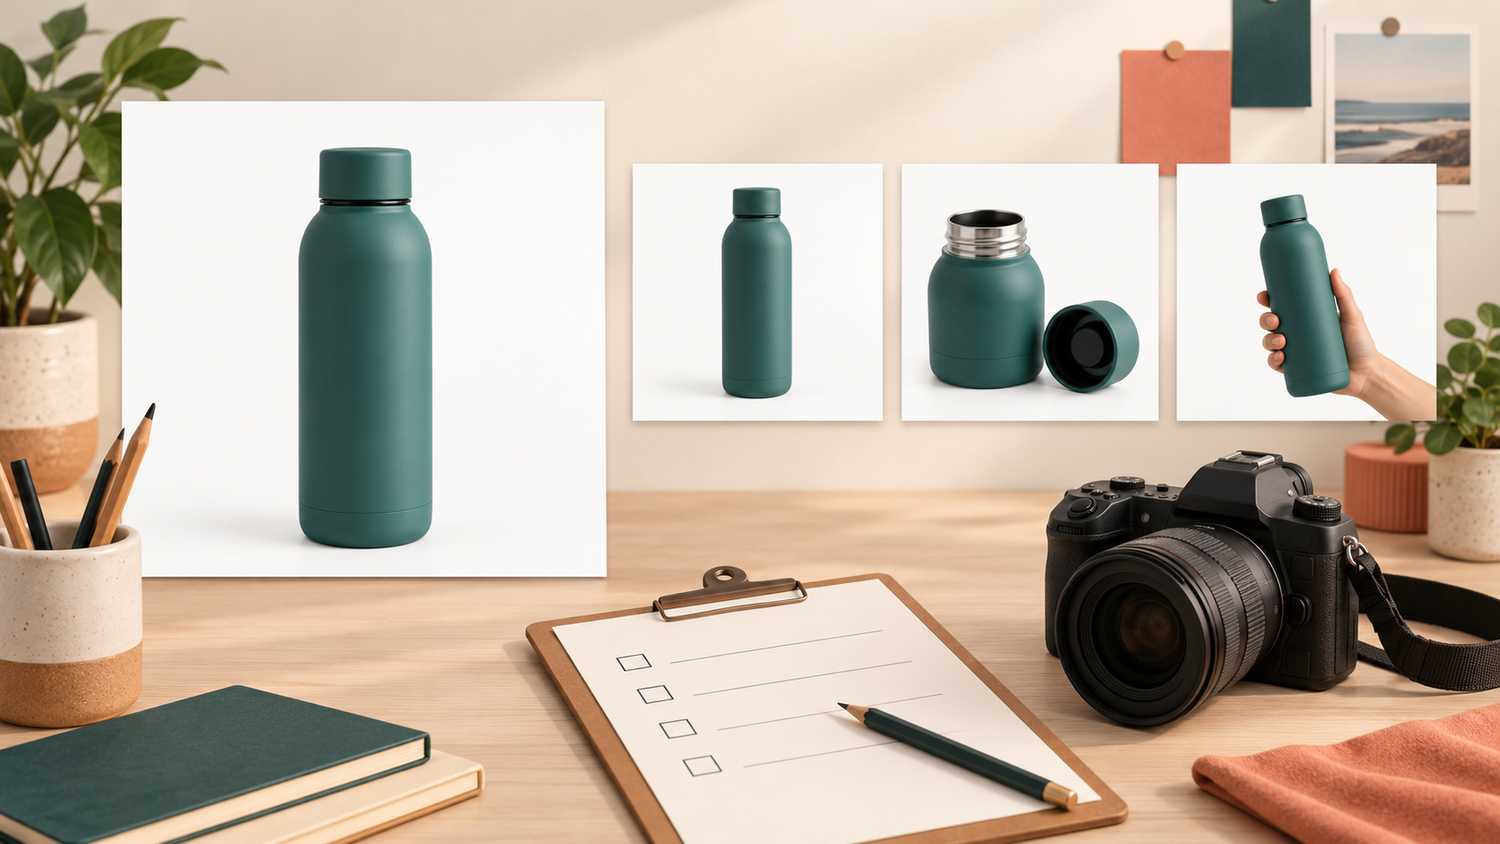
If you are preparing a product shoot, a clear detail list makes the conversation easier before work begins. The photographer can see which parts matter, while the product owner can check that the planned views do not misrepresent the item or imply information a photograph cannot establish.
Daftar Isi
Set product detail photo priorities around buyer questions
Look at your main image as though you have never handled the product. Its overall shape may be obvious, but can you find the opening? Can a viewer identify the join, the surface finish, or the difference between the front and back? Choose questions that genuinely affect how someone understands your particular item.
Adobe recommends finding out what a client needs before setting up a shoot, including particular angles and whether a label must remain visible.[3] Turn those needs into statements you can check. “Show the entire clasp from the front” is more useful than “make the details look good”.
Separate the list into essential, supporting, and optional views. An essential view answers an important question not covered elsewhere. A supporting view adds context, while an optional view provides variety without necessarily adding information. If time or deliverables are limited, discuss the essentials first instead of automatically photographing every side at close range.
Record the part, its condition, and what must be visible
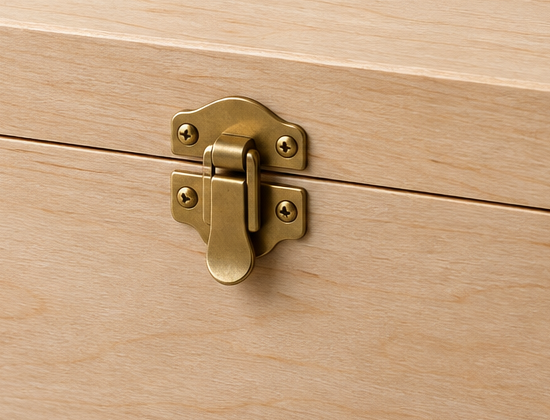
Use three simple columns: the buyer’s question, the part that answers it, and the required view. For a hypothetical clasp box, “what does the clasp look like?” could call for a front view with the lid closed and the clasp free from distracting shadow. “Where does the lid open?” might need another photograph with the owner opening it in a safe, appropriate way.
Do not ask the photographer to infer a component’s function from its appearance. The owner should confirm the part’s name, the condition in which it may be shown, and any accompanying information. A sharp photograph of a clasp does not prove the box’s strength, security, or certification. Those claims need reliable product information, not a visual assumption.
A practical set of notes might read:
- Front clasp: show the complete shape, without props or bright reflections obscuring it.
- Lid join: make the boundary between lid and body distinguishable, retaining some context.
- Material surface: show the pattern that is actually present, without replacing it with a new texture.
Adobe describes detail and macro photographs as ways to highlight texture, stitching, or material characteristics.[4] Your list need not focus on texture alone. Choose the part that resolves a specific uncertainty, then describe a successful view in straightforward language.
Distinguish a dedicated close-up from a main-image crop
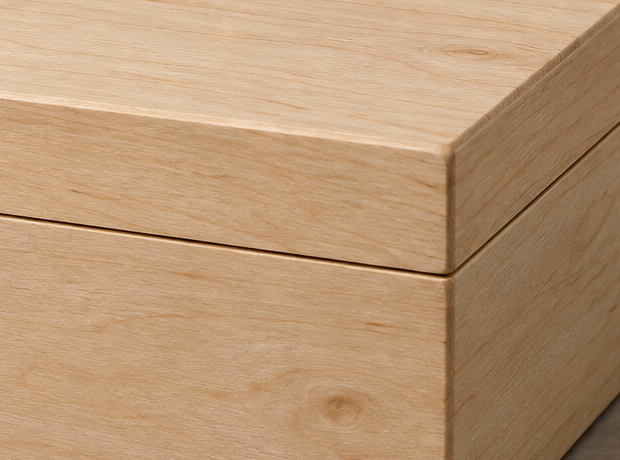
A crop uses part of an existing image. It can help when the relevant feature is already sharp, has enough recorded resolution, and is shown from a suitable angle. Cropping directs attention; it cannot reveal a hidden side or turn a photograph of a closed clasp into one showing it open.
A dedicated close-up lets the photographer choose the camera position, lighting, and plane of focus around that particular feature. Adobe mentions a macro lens as one option for capturing small details.[3] That does not mean every detail photograph requires a particular lens. The technical choice should follow the size of the object and what needs to be legible.
Keep enough context, too. An extremely tight image can make it difficult to understand where a component belongs. You might leave a little of the box around the clasp or pair the close-up with an overall view. The purpose is to explain the part, not simply fill the frame with a surface.
If the main file does not contain the information you need, ask for another photograph. Do not add synthetic joins, lettering, or features and present them as though they exist on the actual product. An illustration can explain a plan, but it cannot replace a photograph as evidence of the item’s appearance.
Check the intended display size, then agree the list
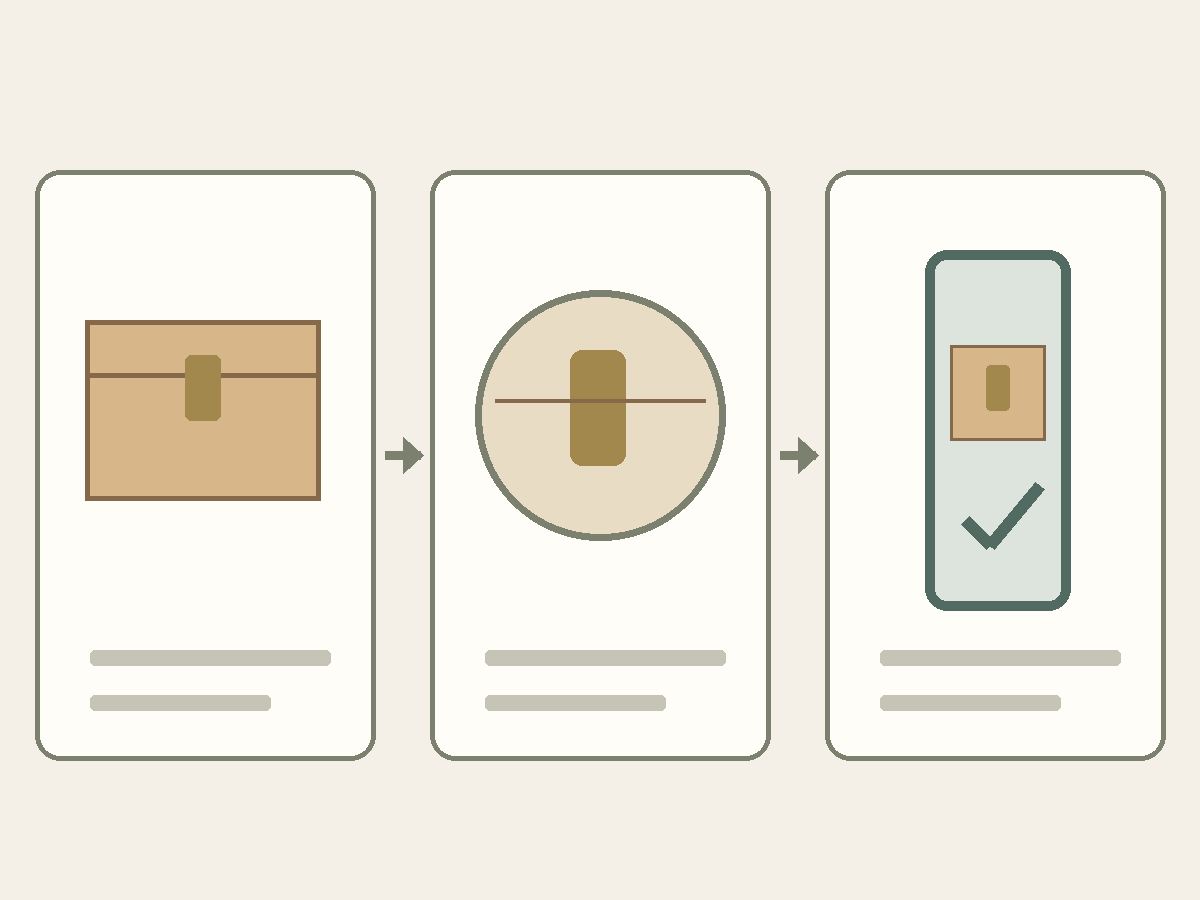
Review a sample where it will be used: a product page on a phone, a catalogue sheet, or a presentation. Do not judge only by enlarging the master file on a monitor. Check whether the important part remains readable, whether the context is sufficient, and whether the displayed crop removes anything the image is meant to explain.
When something is unclear, identify the problem in your feedback. For example, “the lid boundary disappears on the phone view; we need an angle that separates the join” is more useful than “not detailed enough”. This is an example of helpful communication, not a report of testing a particular product.
Before approving the list, match every essential requirement to a planned image. Mark which needs can be met with a crop and which require a separate capture. Identify who confirms the product information and who approves the finished view. Approval can then cover what the photograph communicates, not just whether it looks attractive.
Bring your detail list to the discussion with SCI
If you are arranging product photography in Yogyakarta, bring the actual item or a reliable reference together with the parts you need to show. The Shaniba Creative Industry product photography service page describes discussing a concept as an early step.[1] That linked service page is in Indonesian. Use the discussion to confirm angles, product conditions, and deliverables rather than assuming every possible detail view is included.
You can contact SCI with three concise inputs: unanswered buyer questions, a reference photograph of the product, and the intended display size.[2] A short, specific list is more useful than asking for “everything zoomed in”.
References: [1] SCI product photography service; [2] Contact SCI; [3] Adobe: product photography; [4] Adobe: effective product photography.
Share this post to: